
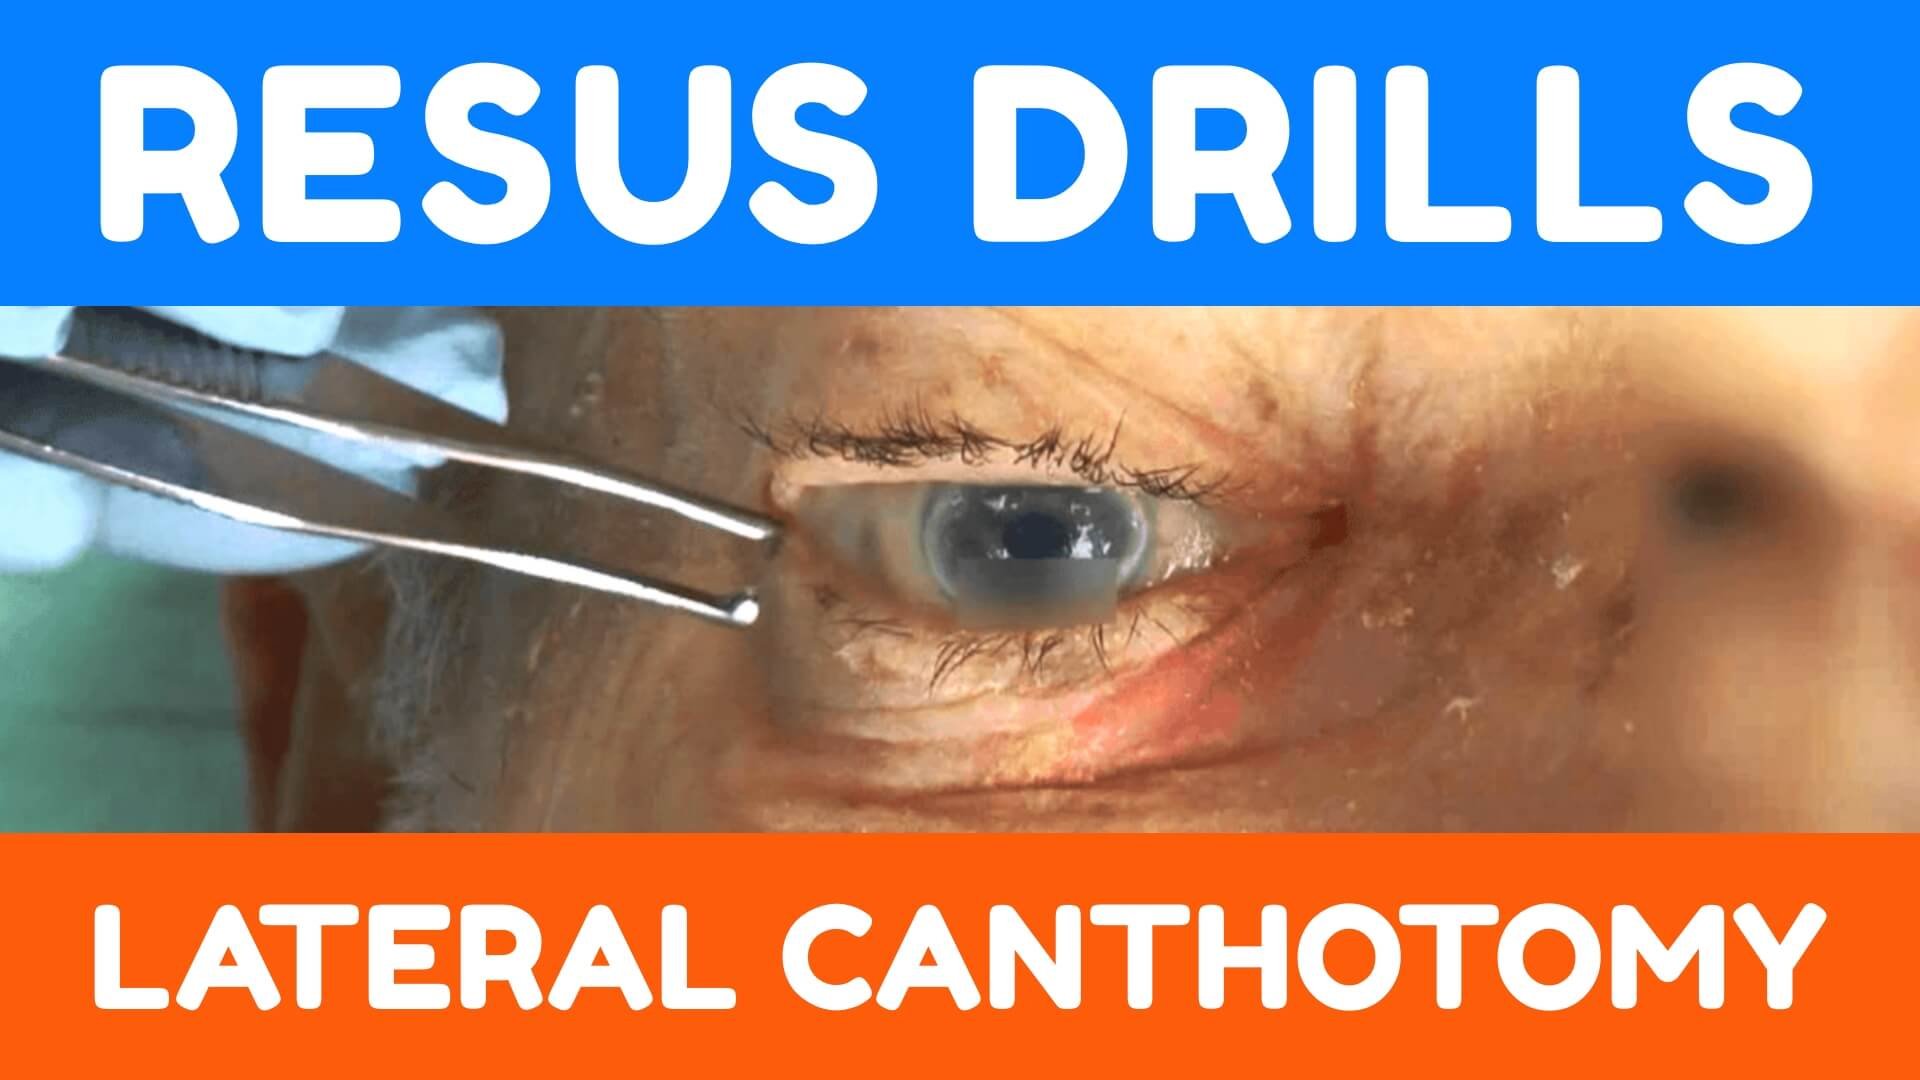
Resus Drills: Lateral Canthotomy
Pre-brief (instructor to read out)
“Welcome to this Resus Drill. Drills are for situations which are not common, and need a time-critical response. This is not a simulation. Drills are a rehearsal for practising teamwork and speed.
We will run a scenario for 5 minutes, chat and reflect on it, then run the same scenario again for another 5 minutes.”

Assurances
Learning, NOT assessment: drills are for practice and for learning. We’re concentrating on how fast you can think, and how well you work as a team.
Safe zone: lessons are shared here, not judged, not told as tales.
5-min reflection rules: please use the debrief to be positive about what you can all do better on the re-run. These are deliberately tough scenarios. That’s the point of a drill.
Pretend it’s real: although it’s not real, we need you to help us by acting as you’d do in real life, in your normal role, and we’ll try to run it in real-time.
Take-away pack: there is some information that you can take away for further learning. We recommend “spaced repetition” for the best learning!
Make some reflective notes while it’s fresh in your mind
Make yourself read them again in a couple of weeks
How does it work?
Each Resus Drill pack follows a standard format.
The drill packs are laminated and available for teaching purposes. Printable copies can be downloaded HERE.
Our drills can also be EDITED to suit your local hospital needs (Google account required).
S.E.T.U.P. (before patient arrives)
SELF… physical readiness (stay calm) & cognitive readiness (accept the challenge)
ENVIRONMENT… lighting, crowd control, appropriate equipment?
TEAM… initial briefing, identify Team Leader, allocate team roles
UPDATE… if possible, recap for the team (and yourself) before patient’s arrival
PATIENT… the patient arrives
Location of Equipment

Locate where you keep the Suturing Packs in your Resus/Emergency Room.

Most importantly, find out where you keep all the equipment for Lateral Canthotomy in your ER.
Special curved scissors for the canthotomy are found inside this stack.
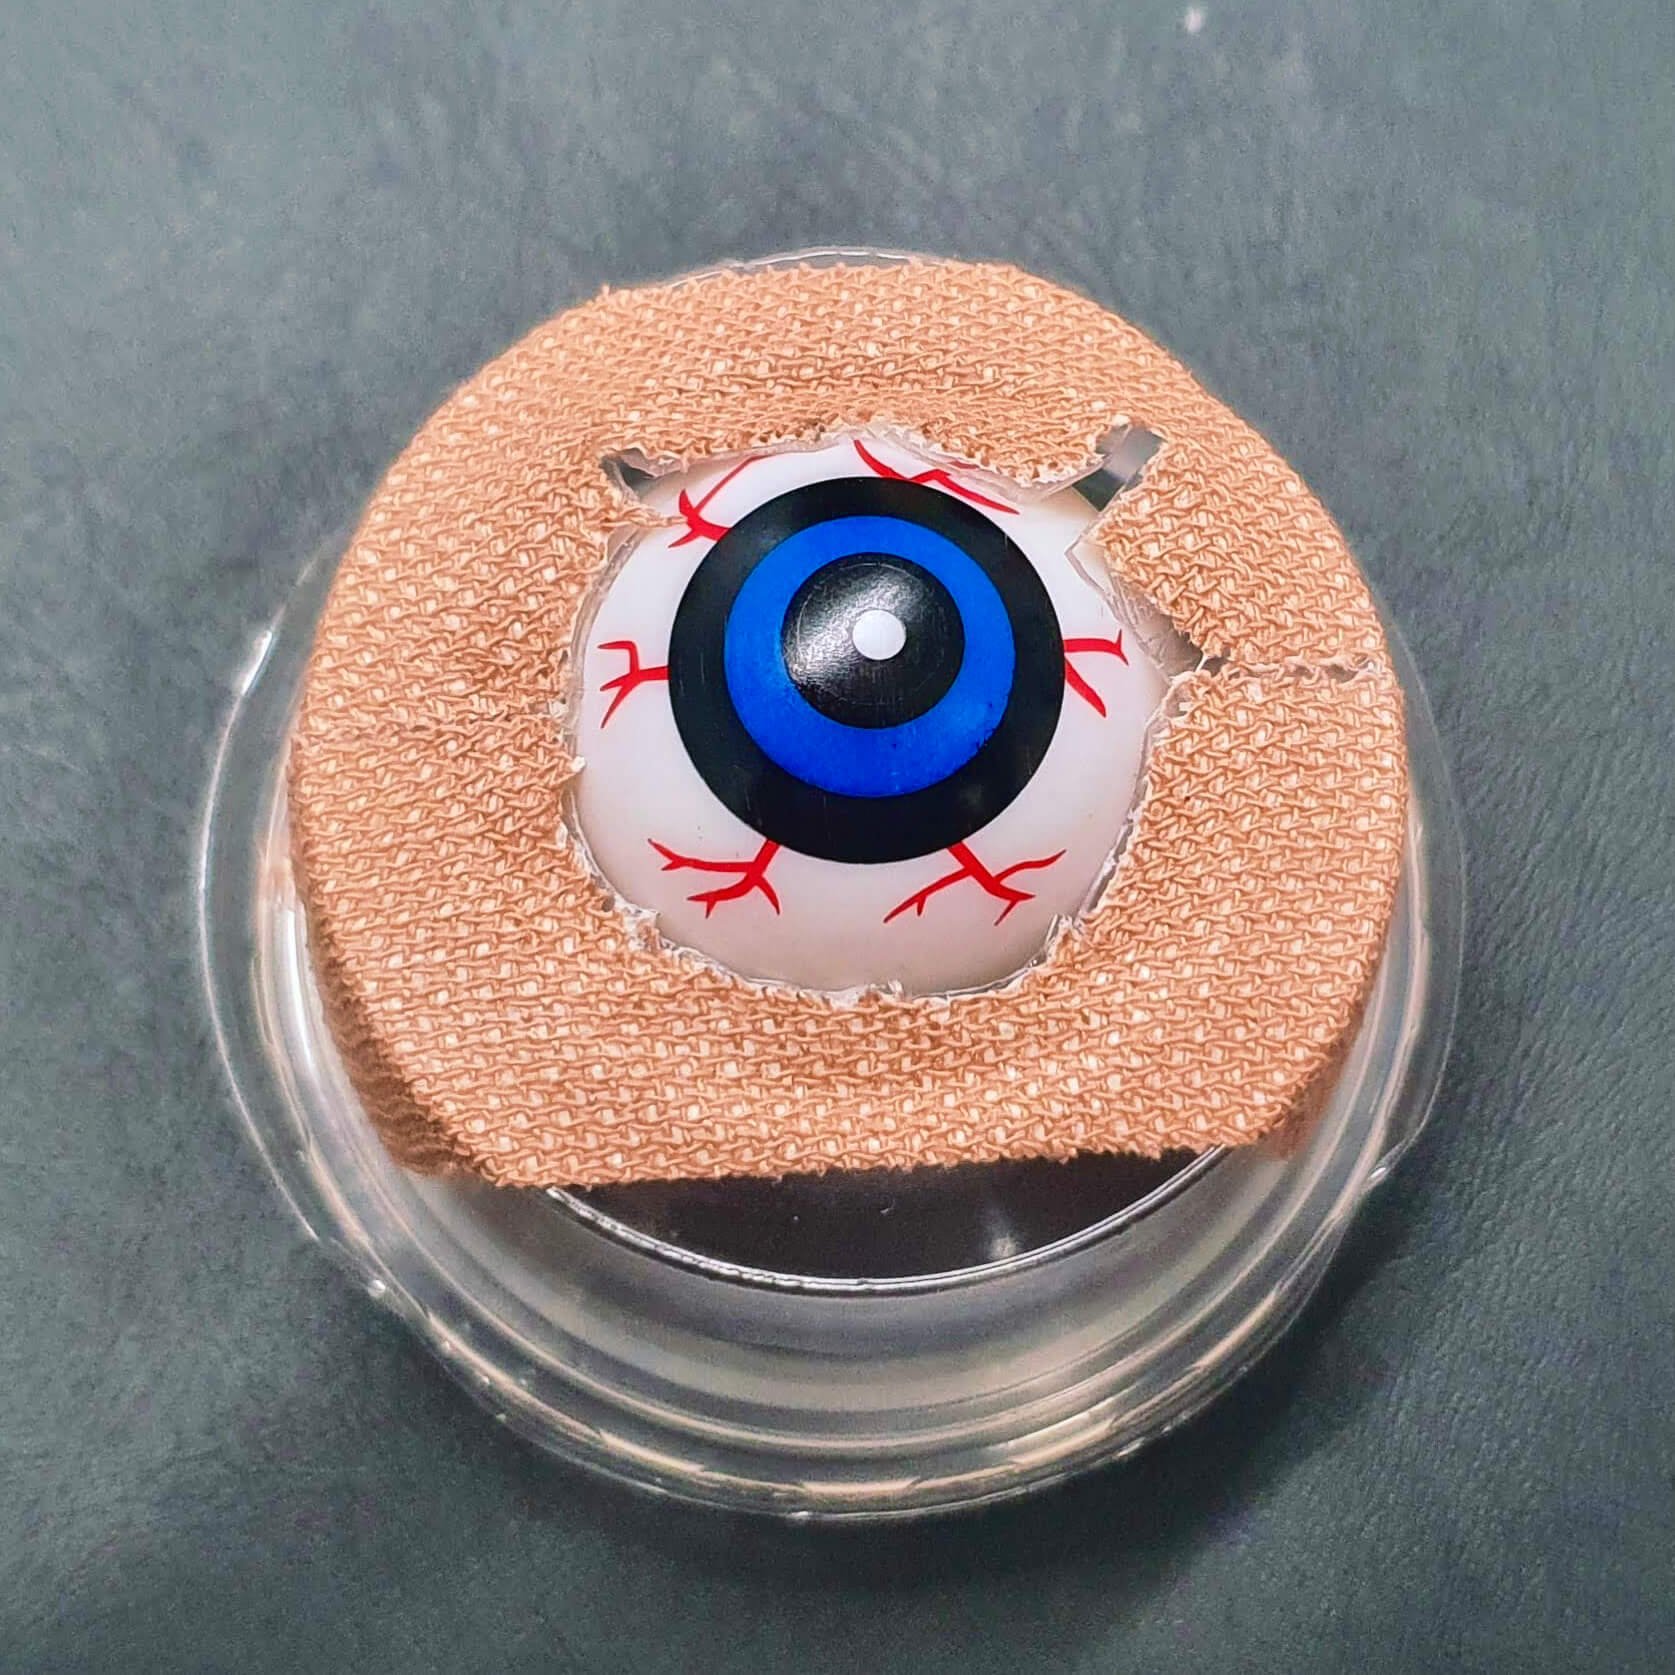
How to make an eye model
You will need:
Tattoo practice skin
Plastic eyeball
Small plastic pot with lid
Elastoplast fabric tape
Thick rubber band
Scissors
Scalpel
Step 1: Assemble the pot. Place two lengths of tape across the base. Cut a cross shape in the middle using a scalpel, then widen with scissors.


Step 2: The size of the hole should be slightly smaller than the eyeball to prevent falling out. You can use the roll of tape to raise the eyeball up inside the pot when assembled.

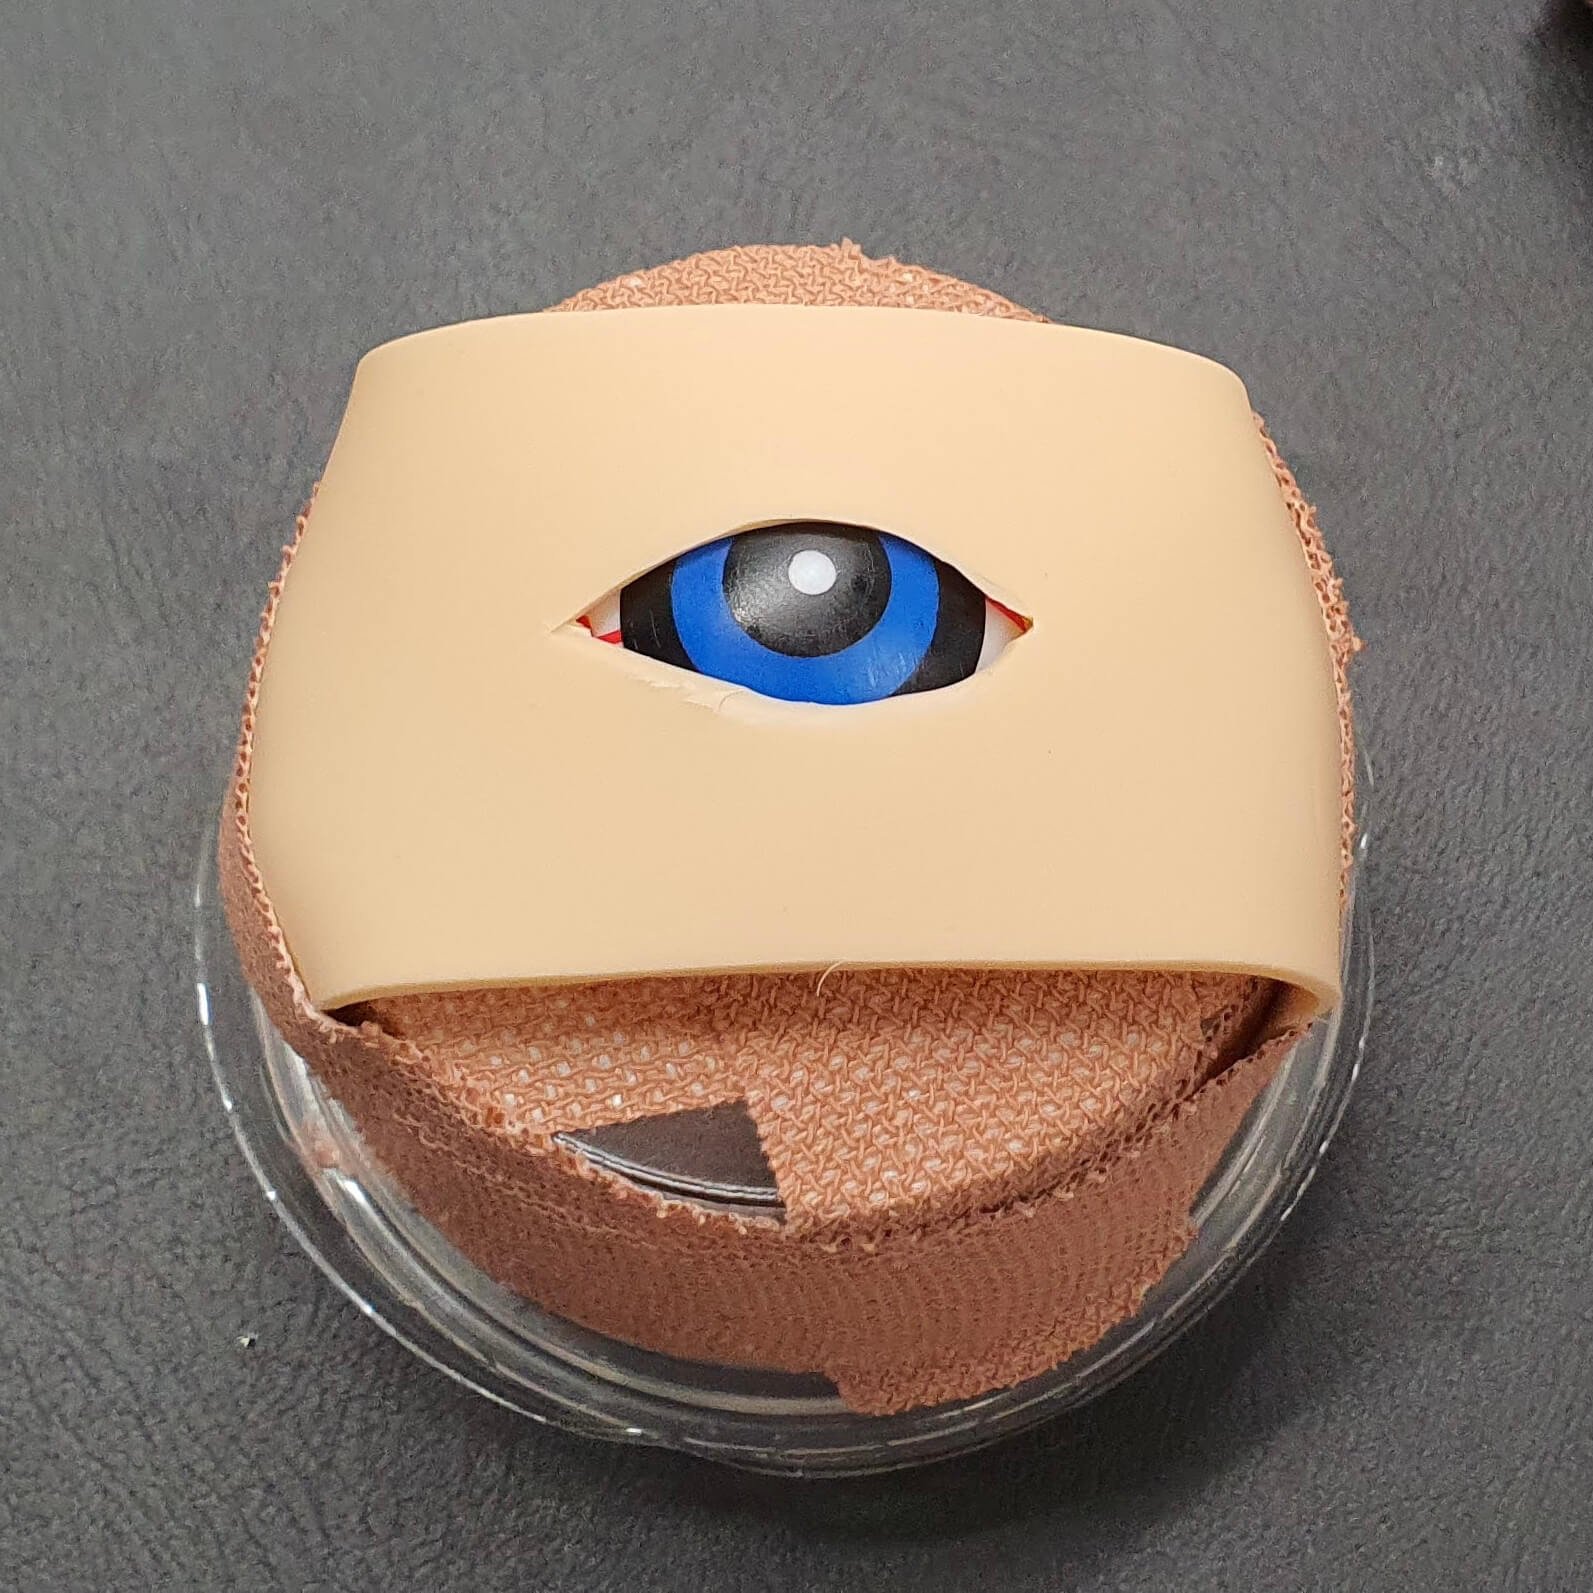
Step 3: Cut the rubber band into one straight piece. Fold in half and snip down the middle to create a 1-1.5 inch opening. Cut two pieces of tape and thread through the hole as shown.


Step 4: Place the elastic band over the eyeball. Pull each piece of tape apart and stick them to the sides of the pot. Secure the other loose ends of the rubber band. Ensure that there is adequate tension as this will create the ligaments that will need to be ‘strummed’ and cut during the drill.
Step 5: Cut 1.5 x 4 inch strips from the tattoo practice skin. The skin and the rubber band will be cut during the drill and will need to be quickly replaced between attempts. It will help to have spares!


Step 6: Finally, cut an eye hole in the skin using a scalpel. Experiment by starting small and then making larger as necessary for practice. Secure to the pot with more tape.


Indications
Facial trauma and suspected orbital compartment syndrome. Signs include:
Deteriorating visual acuity
Diffuse subconjunctival haemorrhage
Painful tense eyeball when pressure put on eyelid
Oculomotor palsy
Proptosis
Equipment Required
Westcott tenotomy curved scissors
Spencer-Wells straight artery forceps 12.5 cm
Toothed Adson forceps
2 ml IV syringe
Red blunt needle
Orange needle
Gauze 5x5 cm
Chloraprep applicator 3 ml
Landmarks and Techniques
A left eye is depicted in these diagrams…
STEP 1: Identify the lateral canthus (see arrow). Cleanse the area with antiseptic and anaesthetise with 1 ml of 1% Lidocaine.
Step 2: Crush the lateral canthus with the forceps for 1 to 2 minutes to reduce incisional bleeding (not shown). Then, cut through the crushed tissue with tenotomy scissors to perform the canthotomy.
Step 3: Pull the lower eyelid away from the globe with straight artery forceps (see arrow).
Step 4: “Strum” the tissue under the canthotomy with the scissors to identify the inferior crus of the lateral canthal ligament. Cut through this ligament with scissors to perform the inferior cantholysis. Note the scissors are directed inferiorly during this step, perpendicular to the canthotomy incision.
Step 5: The eye after canthotomy and cantholysis. This procedure relieves increased intraocular pressure by allowing the globe and orbital contents to move forward.
NOTE: if intraocular pressure remains elevated after inferior cantholysis, the superior crus of the lateral canthal ligament may be released in a similar fashion.
Orbital Compartment Syndrome (OCS) Decision Algorithm

Scenario Script
“A 74-year-old man has fallen in his garden and has facial injuries. He is on apixaban, has had a head CT scan which is normal, and is awaiting an orthopaedic bed for his fractured femur. He’s told a nurse he can’t see out of his right eye very well in the last half an hour and it is painful.”

Minute One
Rapid assessment to include ocular movements (painful), pupillary response (sluggish) and for proptosis (should be assessed from above – it is present).
Minute Two
Decision to perform a lateral canthotomy.
Call Ophthalmology for help/advice and assemble kit. Simulate call. Instructor announces “They can’t get there for at least 20 minutes.”
Minute Three
Ask Team Leader to say what kit they need and observe how they task people. If procedure not explained to the patient – prompt Team Leader to do so.
Minute Four
Team Leader to talk through what they are doing (see description in ‘Landmarks and Techniques’ section).
If patient not comforted by staff during procedure – feed back during debrief.
Minute Five
Eye successfully released and patient describes improvement in pain.
Debrief and Feedback
You should aim to cover the following points within 5 minutes, then re-run the scenario:

Did the Team Leader assess the eye efficiently and adequately?
Did the Team Leader rapidly reach a decision to proceed?
Did the Team Leader explain the situation in a way so that everyone understood it was a time-critical operative procedure?
Was the right equipment asked for and provided quickly?
Was a brief, non-frightening explanation given to the patient?
Did the Team Leader display knowledge of the technical skills required?
Was the patient comforted and supported during the procedure?
Were there any instances of:
Equipment issues?
Human factors negatively impacting communication or patient care?
Additional Resources
- Lateral Canthotomy (UMEmergencyMed)
- How to do a Lateral Canthotomy (EM:RAP)
- Lateral canthotomy and cantholysis: a simple, vision-saving procedure (Gord McInnes, MD; Daniel W. Howes, MD)
- Procedural Aide Memoires – PAMs (MAGPAS)
- How to make a Low Tech – Cheap Lateral Canthotomy model (Dr Sarah Edwards)
- Lateral canthotomy and cantholysis: a simple, vision-saving procedure (Gord McInnes, MD; Daniel W. Howes, MD)
- A low fidelity eye model for lateral canthotomy training (R. Kong, D. Pascal Kaya, E. Cioe-Pena, J. Greenstein)