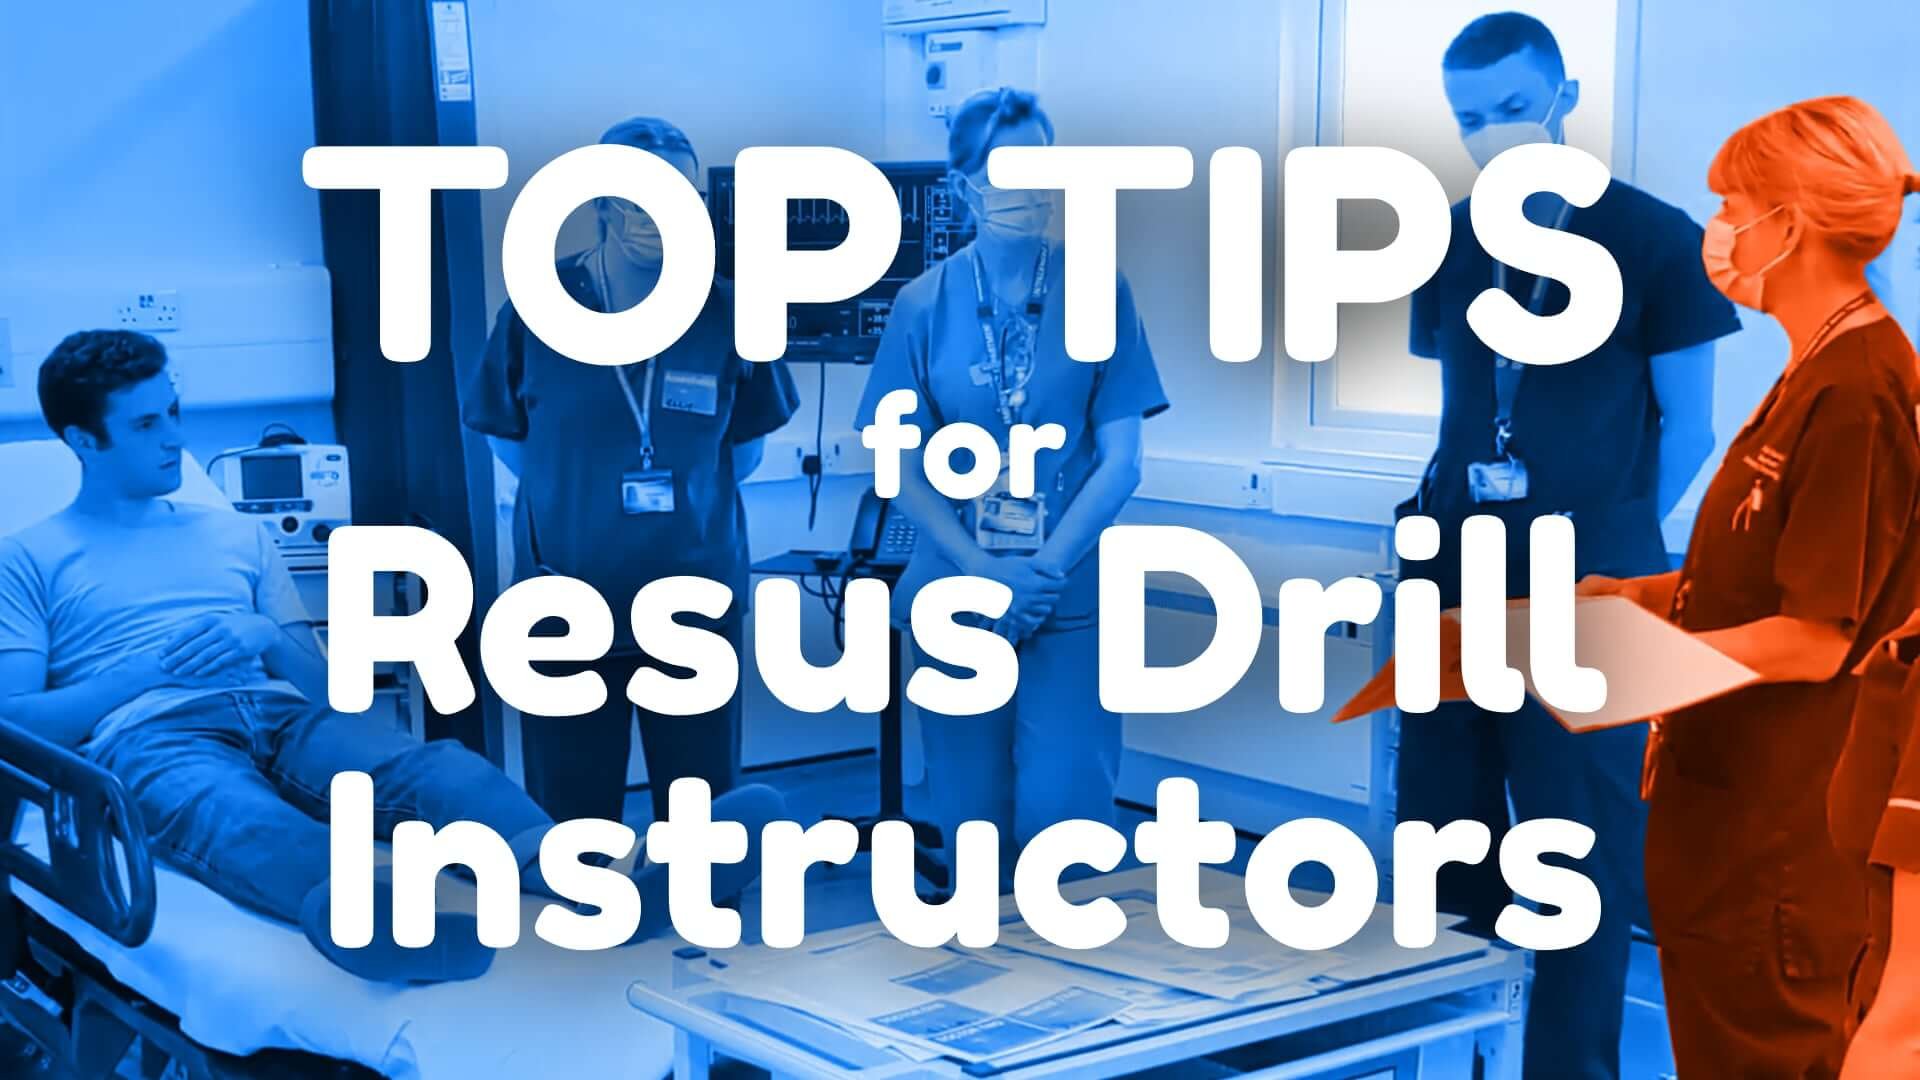
Top Tips for Resus Drill Instructors
Before a drill
If possible, try to reserve a space in your actual Resus/Emergency Room rather than a simulation teaching room. The point of the drill is for staff to find and fetch your actual equipment and work in their real environment. For an idea of how a typical Resus Drill might run, please watch the following example…
Ensure you have staff free for the exercise. A ten minute warning helps!
Ideally, one senior doctor to act as Team Leader, two other doctors, two or three nurses, plus another person prepared to act as a specialist in-person (or via a mobile phone to simulate a referral)
If you are running this in your ER (in situ), let senior staff know that the drill is happening to avoid confusion
Read through the drill documentation so that it is fresh in your mind
Setting up for the drill…
Ensure you have the initial equipment you need (don’t fetch things kept outside of the cubicle - this is part of the challenge)
Decide if you are using a real person (students are good for this) or a mannequin to be the patient. Staff acting as the patient bring much more reality to the drill. Remember to brief them whether they are conscious enough to answer questions and if they are gurgling or groaning etc. Our drills usually require minimal information to memorise, just some acting out!
During the drill
Run ONE (5 mins)
Try and remain hands-off during the first attempt – let the drill progress naturally
Read the pre-brief aloud to everyone
The 5-minute timer starts when the script starts. No information is handed over before this point – we go straight in…
KEEP TO TIME: drills will lose popularity if it takes more than the 5 + 5 + 5 mins schedule
Keep the S.E.T.U.P phase to one-minute maximum (outlined in each drill scenario)
Keep it realistic:
Make people fetch real equipment
Make people wait for switchboard, pagers and phones to be answered – ensuring they
Simulate making phone calls in real-time ideally by having an actor pretend to be on the end of the line if you have someone spare
Use real equipment as much as is possible. You shouldn’t need to open expensive packets unless wishing to take the drill further. Simply fetching the equipment in a timely manner should be the goal.
Debrief & Feedback (5 mins)
Stop Run ONE after 5 minutes, no matter what stage they have reached
Make the debrief very focused on what could go better for Run TWO
Summarise up to 5 improvement points at the very end of the debrief so that staff can hit the ground running (every drill comes with debrief questions you can use)
Run TWO (5 mins)
Run TWO should follow the same format as Run ONE
However, in this run you can give some small prompts and coaching to keep the team on track, for example: “Remember, we said that we would do… (action)”
If Run TWO goes exceptionally well, the drill can end early. This is to help prove the point that correct and timely action is key when dealing with these types of cases.
After a drill
Thank the team
Get feedback from the whole team
Avoid talking at length about the practical procedures – unless anyone wants further teaching. In most drills we stop short of doing the actual procedure. If time allows, you can talk through this using the relevant page in the drill booklet.
Show the learners the Additional Resources section in the booklet – they may take a photograph of this, or direct them to the scenarios on this website.
Spaced repetition: remind staff to do a mental rehearsal later the same day, then in one week, and again in one month’s time. This will help to embed the memory and prevent forgetfulness. Drills are intended for continual practice, not as a one-off exercise.
Many thanks to MAGPAS Air Ambulance for use of their Procedural Aide Memoires (PAMs) to help illustrate many of these procedures.
This work (like all our content) is licensed under a Creative Commons Attribution-NonCommercial-ShareAlike 4.0 International License. 

Resus Drills: Lateral Canthotomy


