

#SimBlog: Do You Know Your Kit?
““35 year old. Hit by car whilst crossing the road. Was thrown approx 10 metres. Pain in left thigh. Cannot mobilise.””
Observations
A – Patent
B – Bilat Air ent. Sats 97% RR 18
C – HR 113 BP 116/52
D – GCS 15, Pearl
E – Temp 37.2°C
Clinical Findings
Abdomen soft and non-tender
Tender left thigh
No external head injuries
Why We Simulated
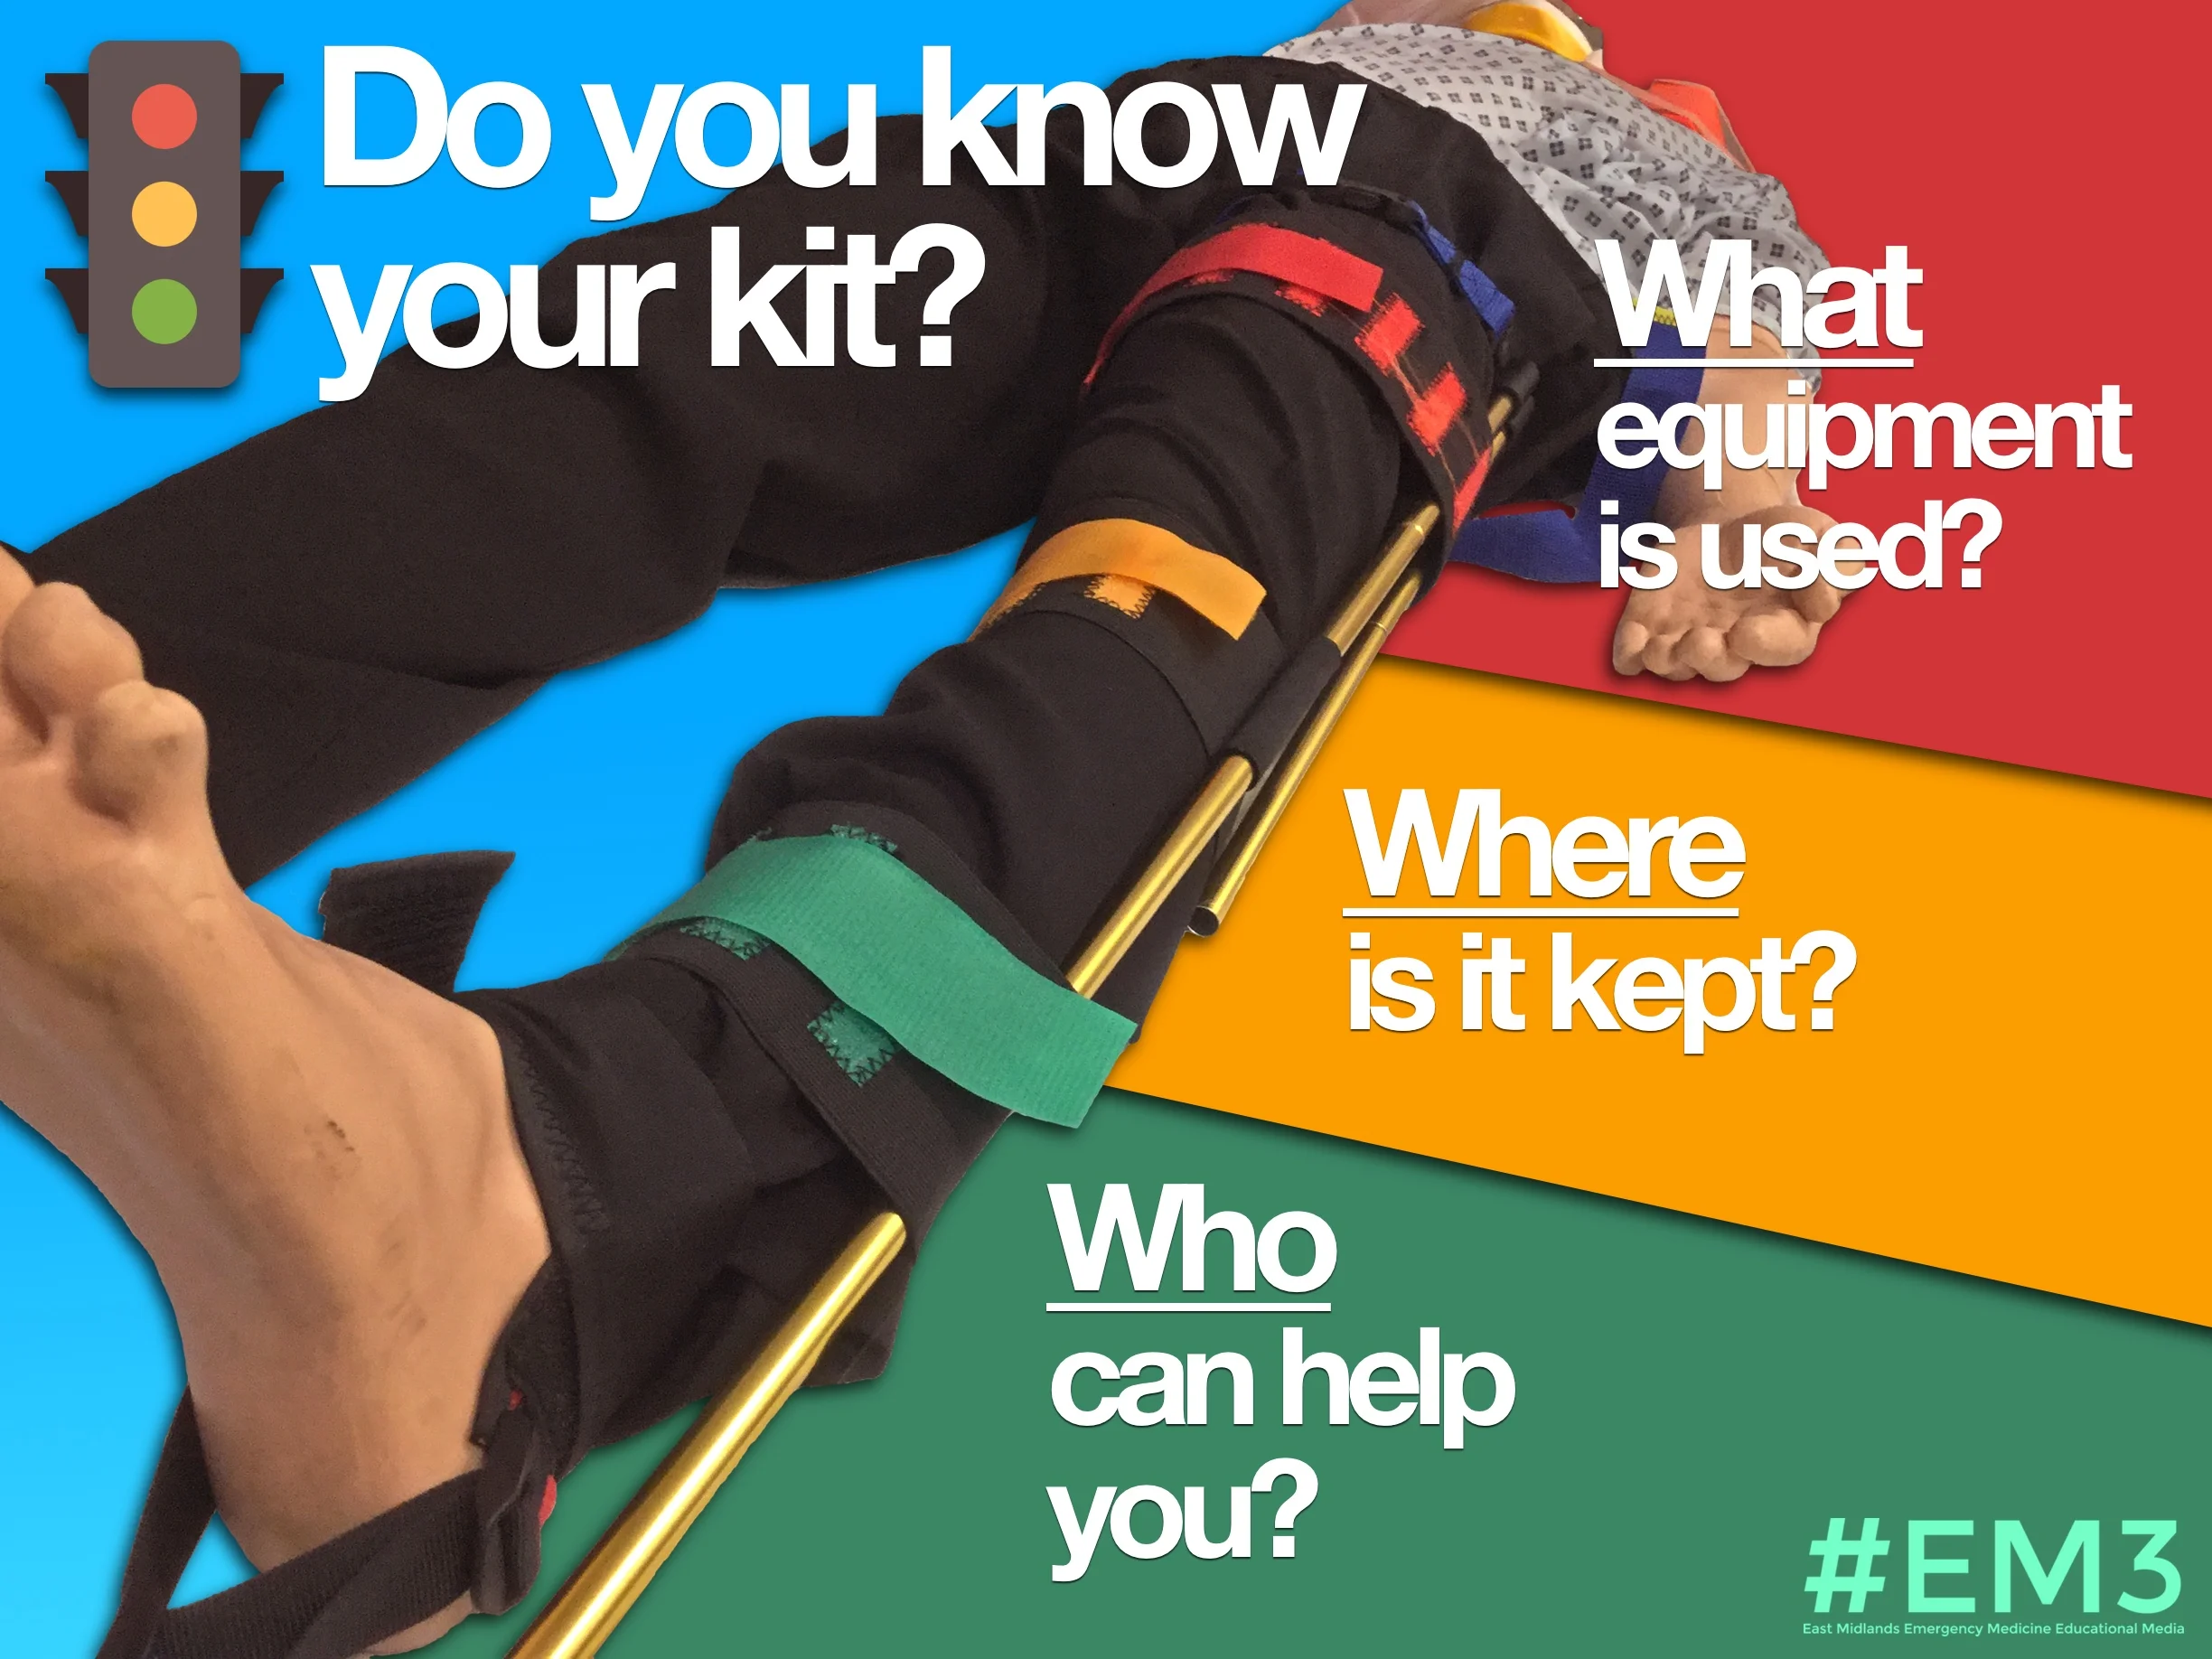
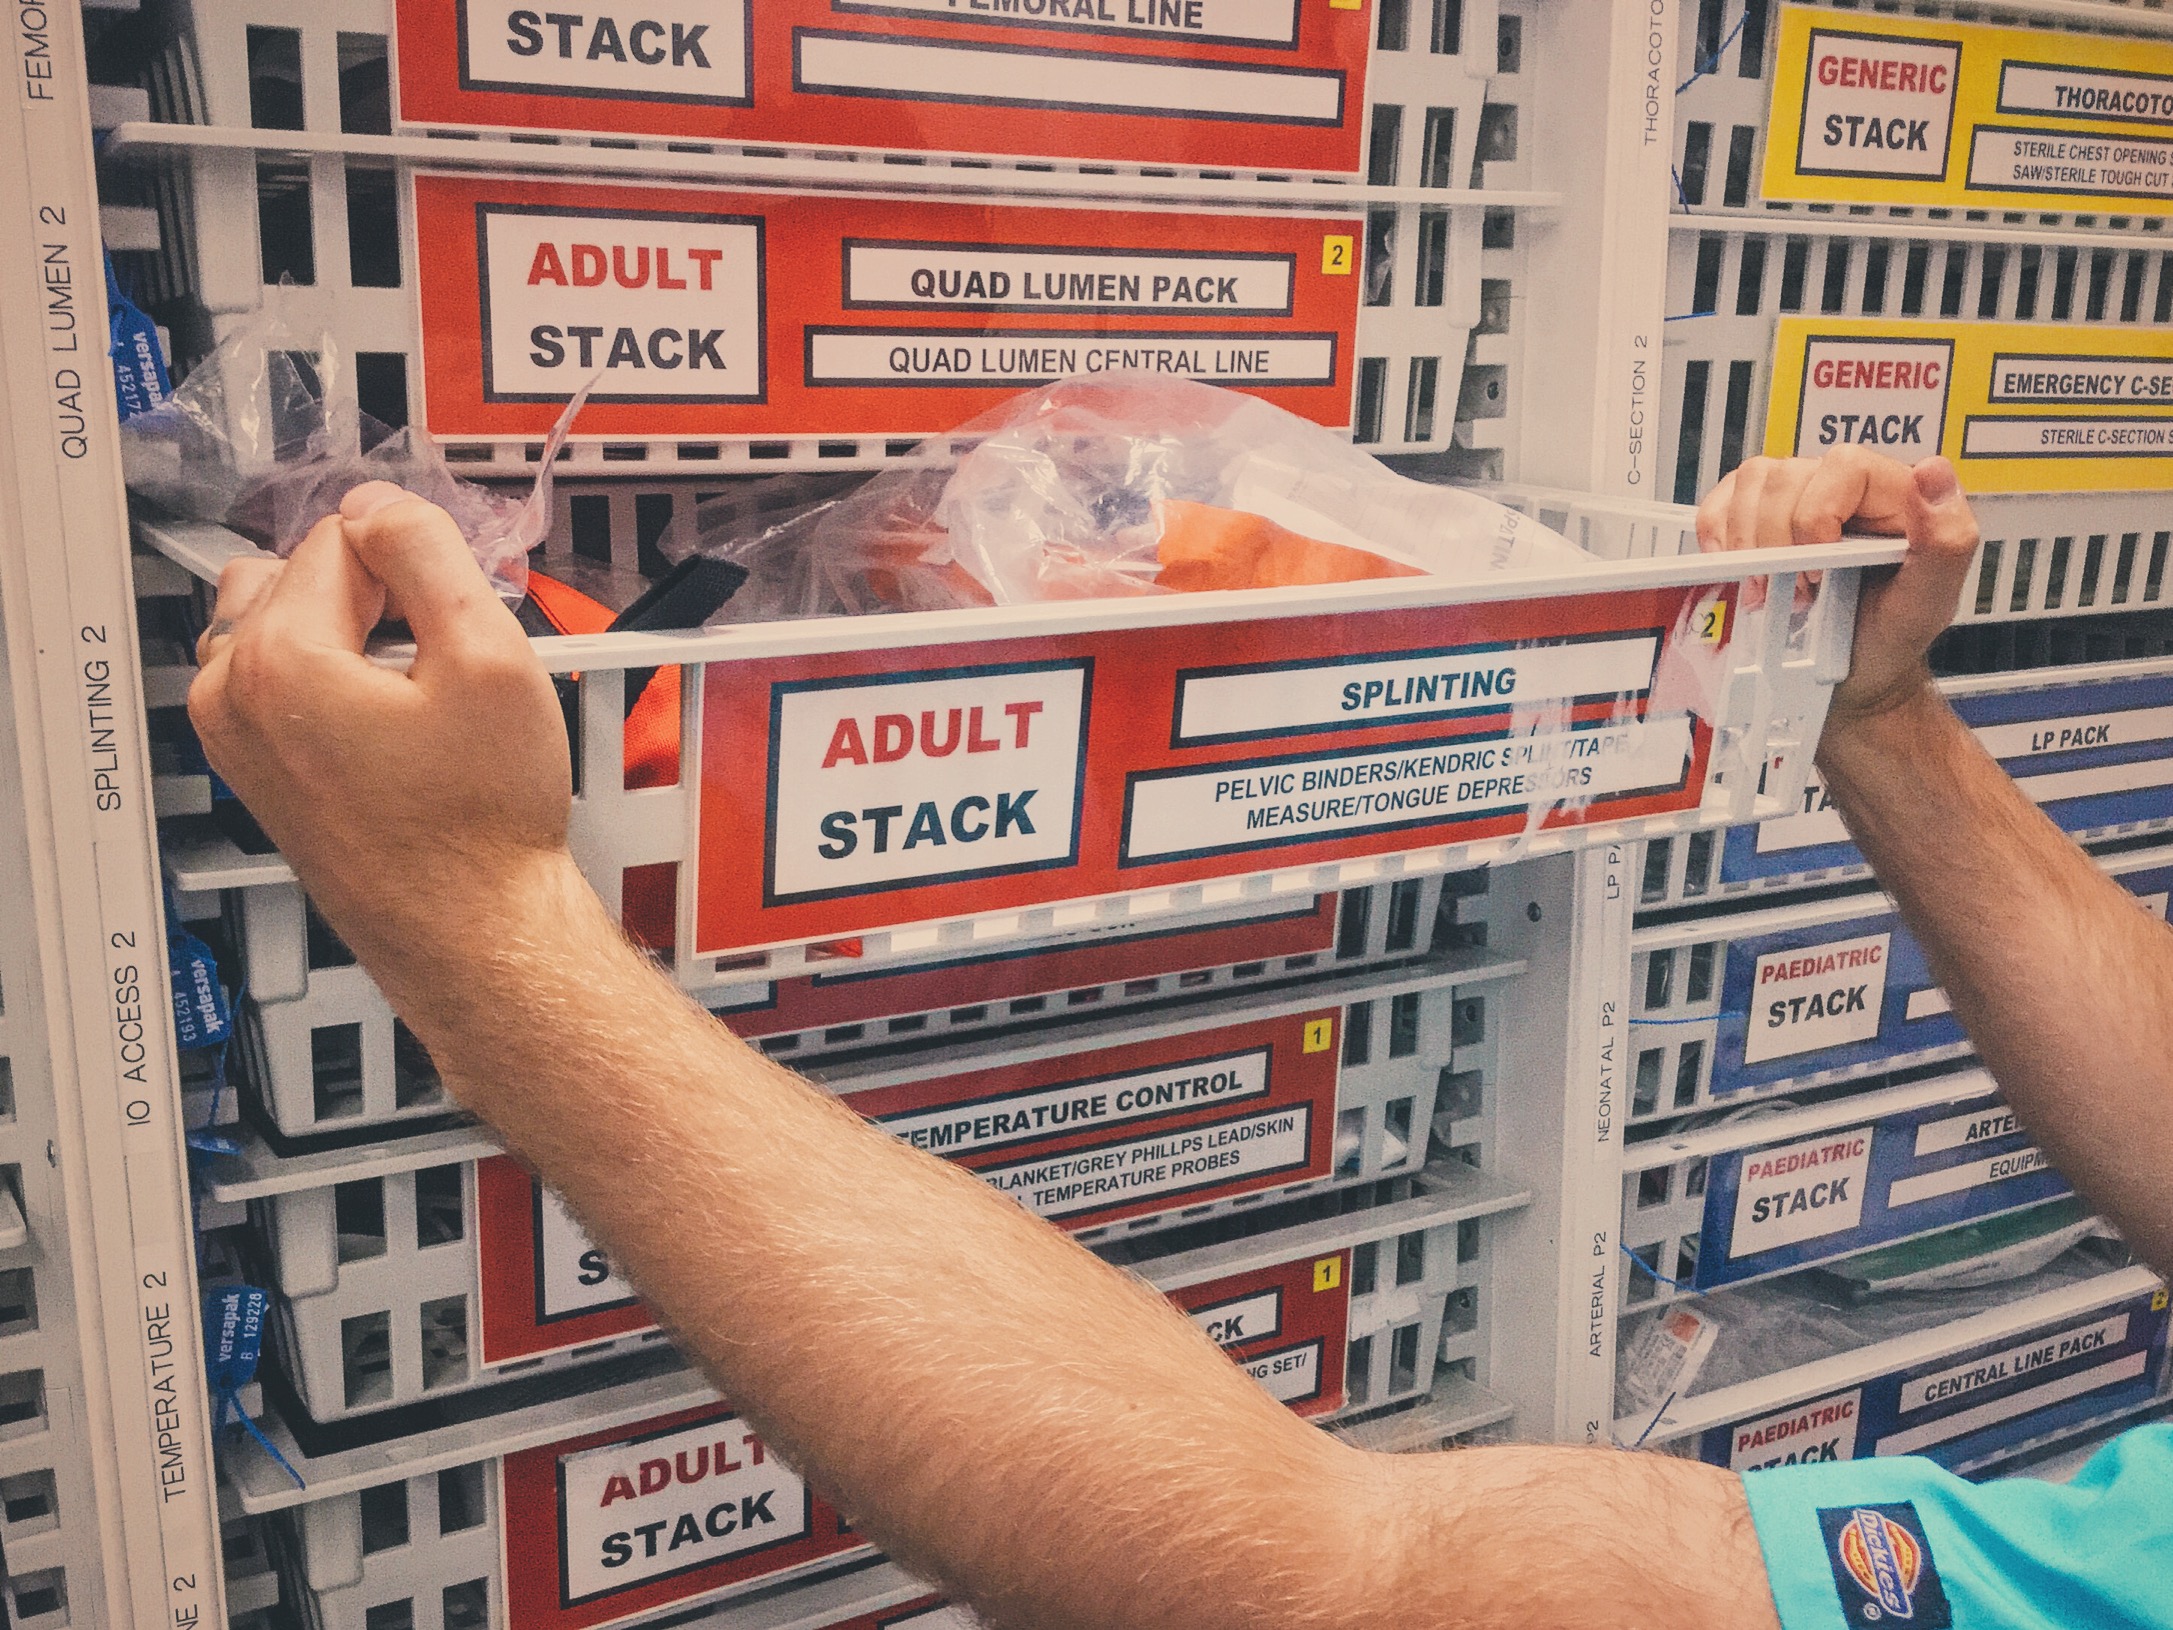
Knowledge of the equipment used in your environment is important but can represent a challenge to staff who rotate through different departments or hospitals (not to mention those who work in the pre-hospital environment).
Simulation can be used as a tool to help with this, and it is one of the many advantages of running an in situ training program.
This scenario is structured around the use of a Kendrick Splint but the concept can be applied to anything you use at work. For example, Pelvic Binders are often applied incorrectly.
When starting in a new department or environment you should ask?
What equipment is used here?
Where is it kept?
Who can help me if I need it?
For those who need to train new staff, do you provide the answers to the above?
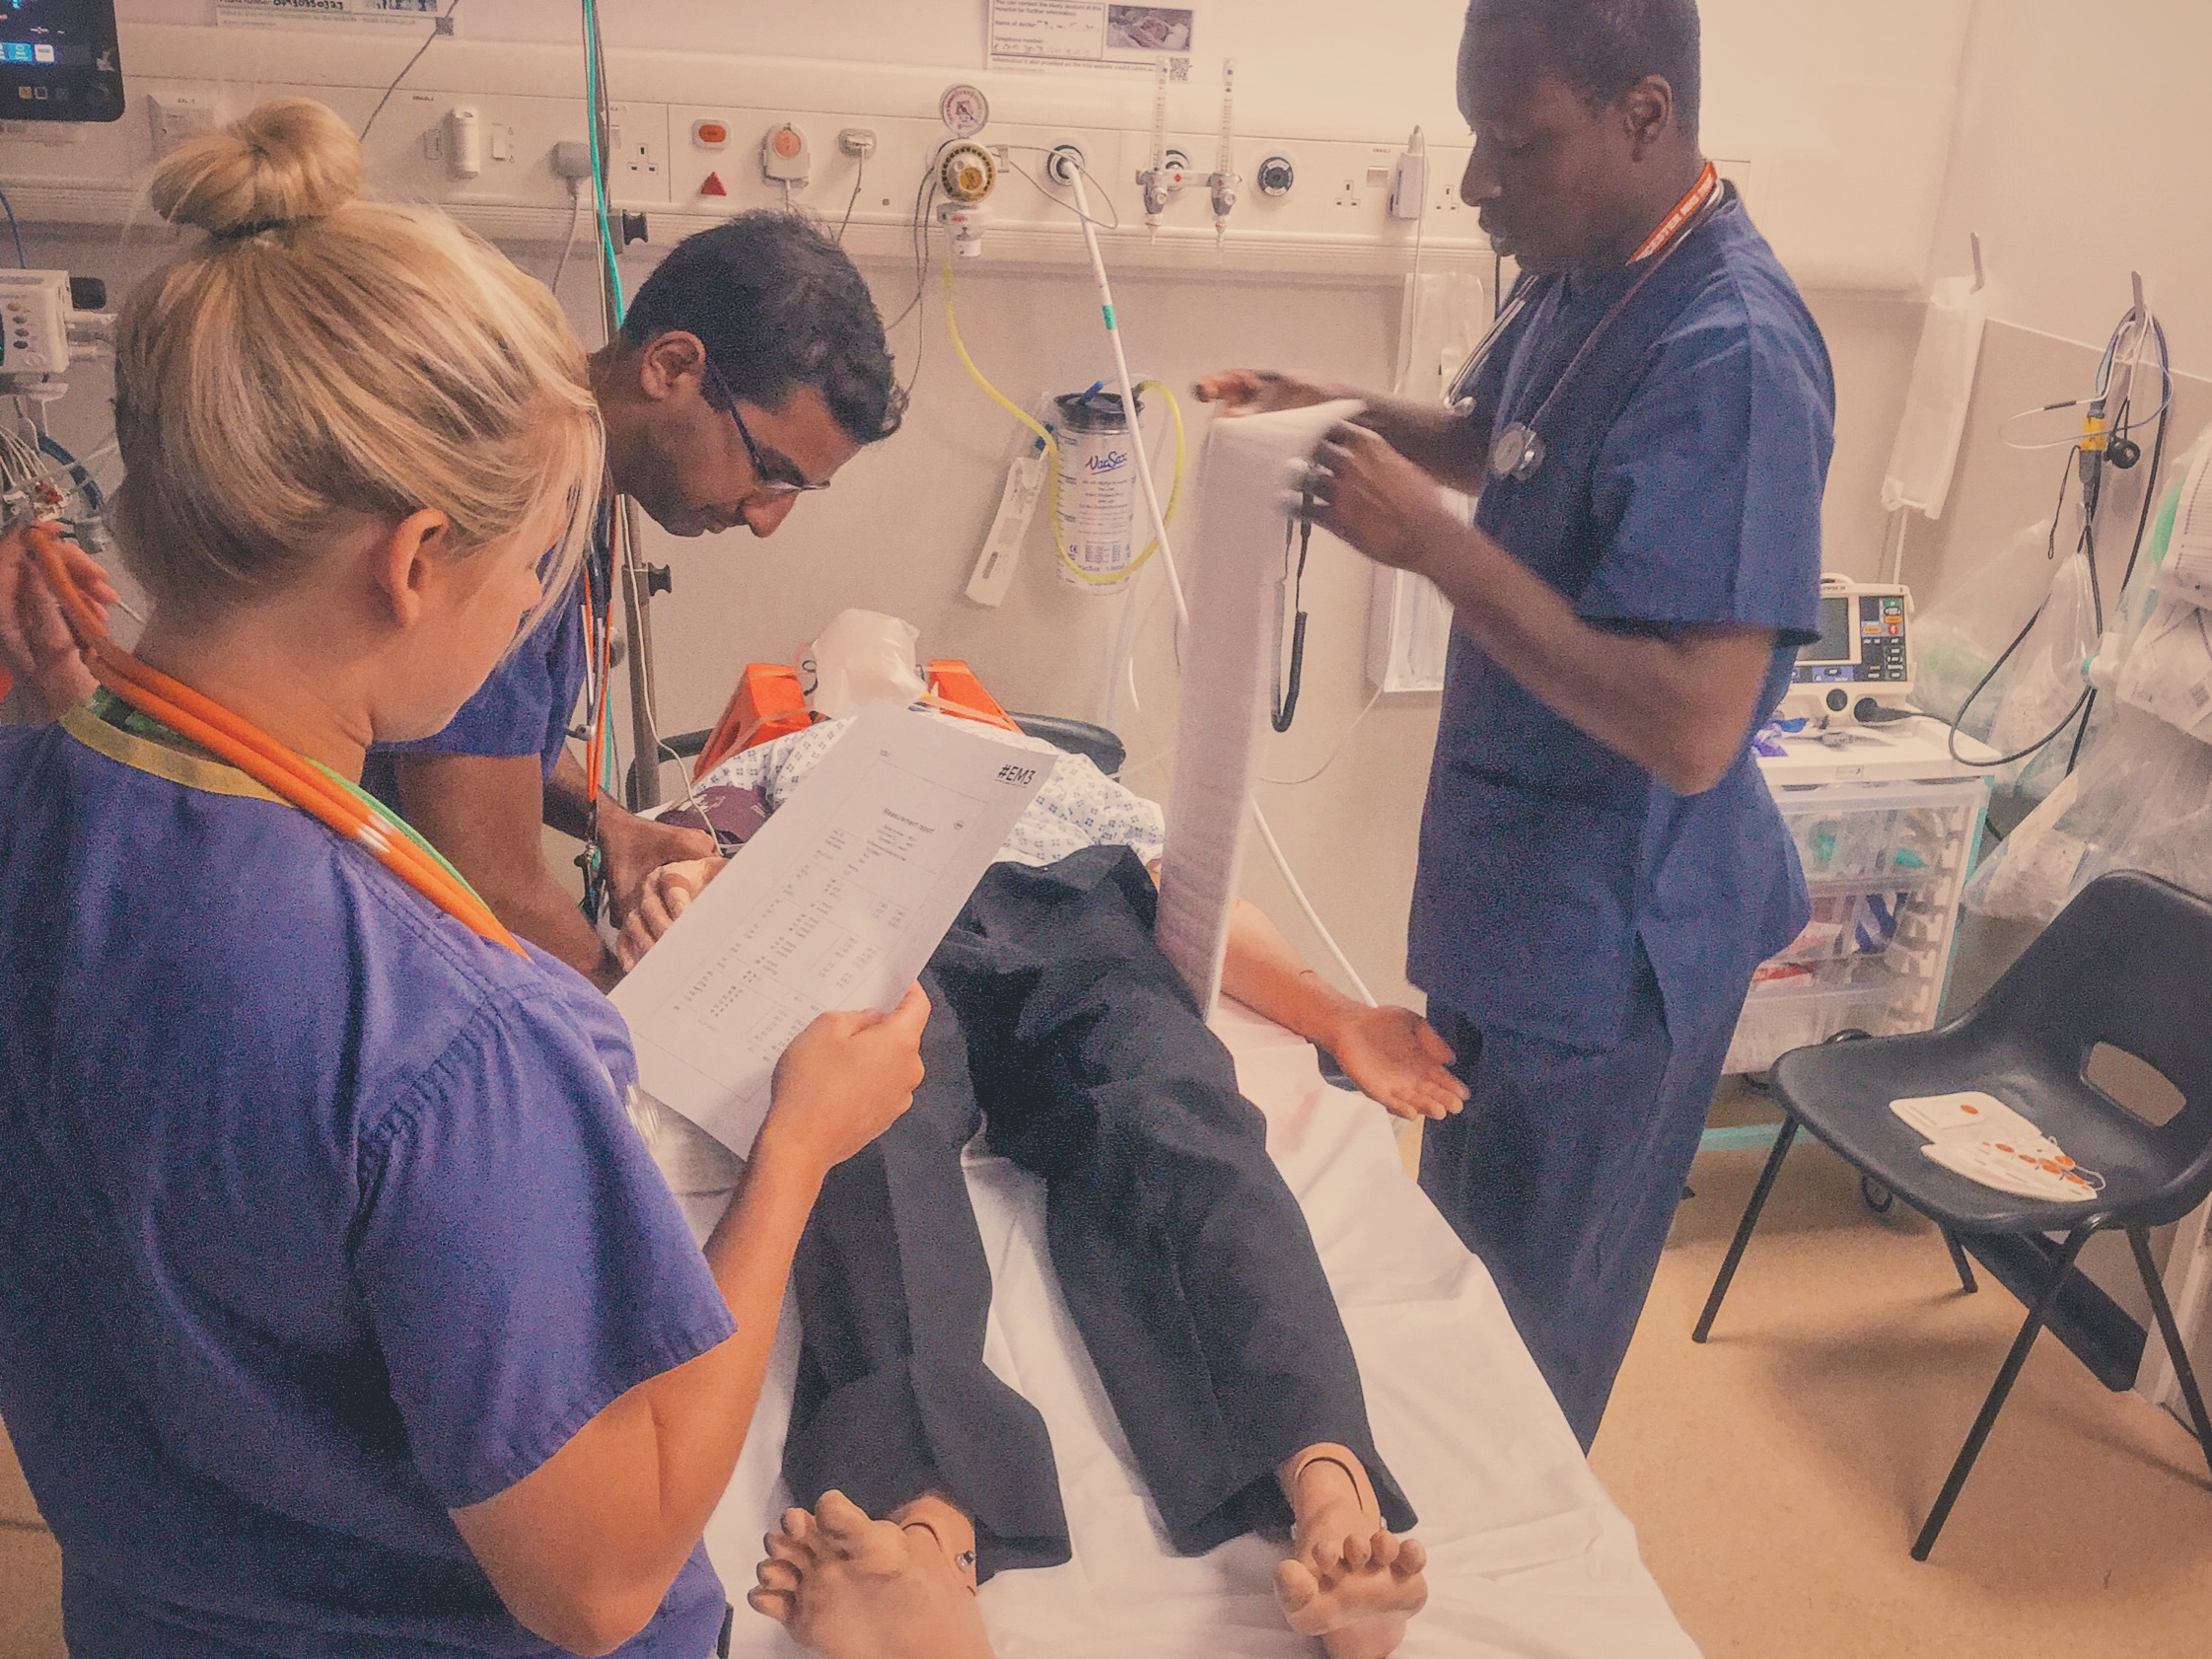
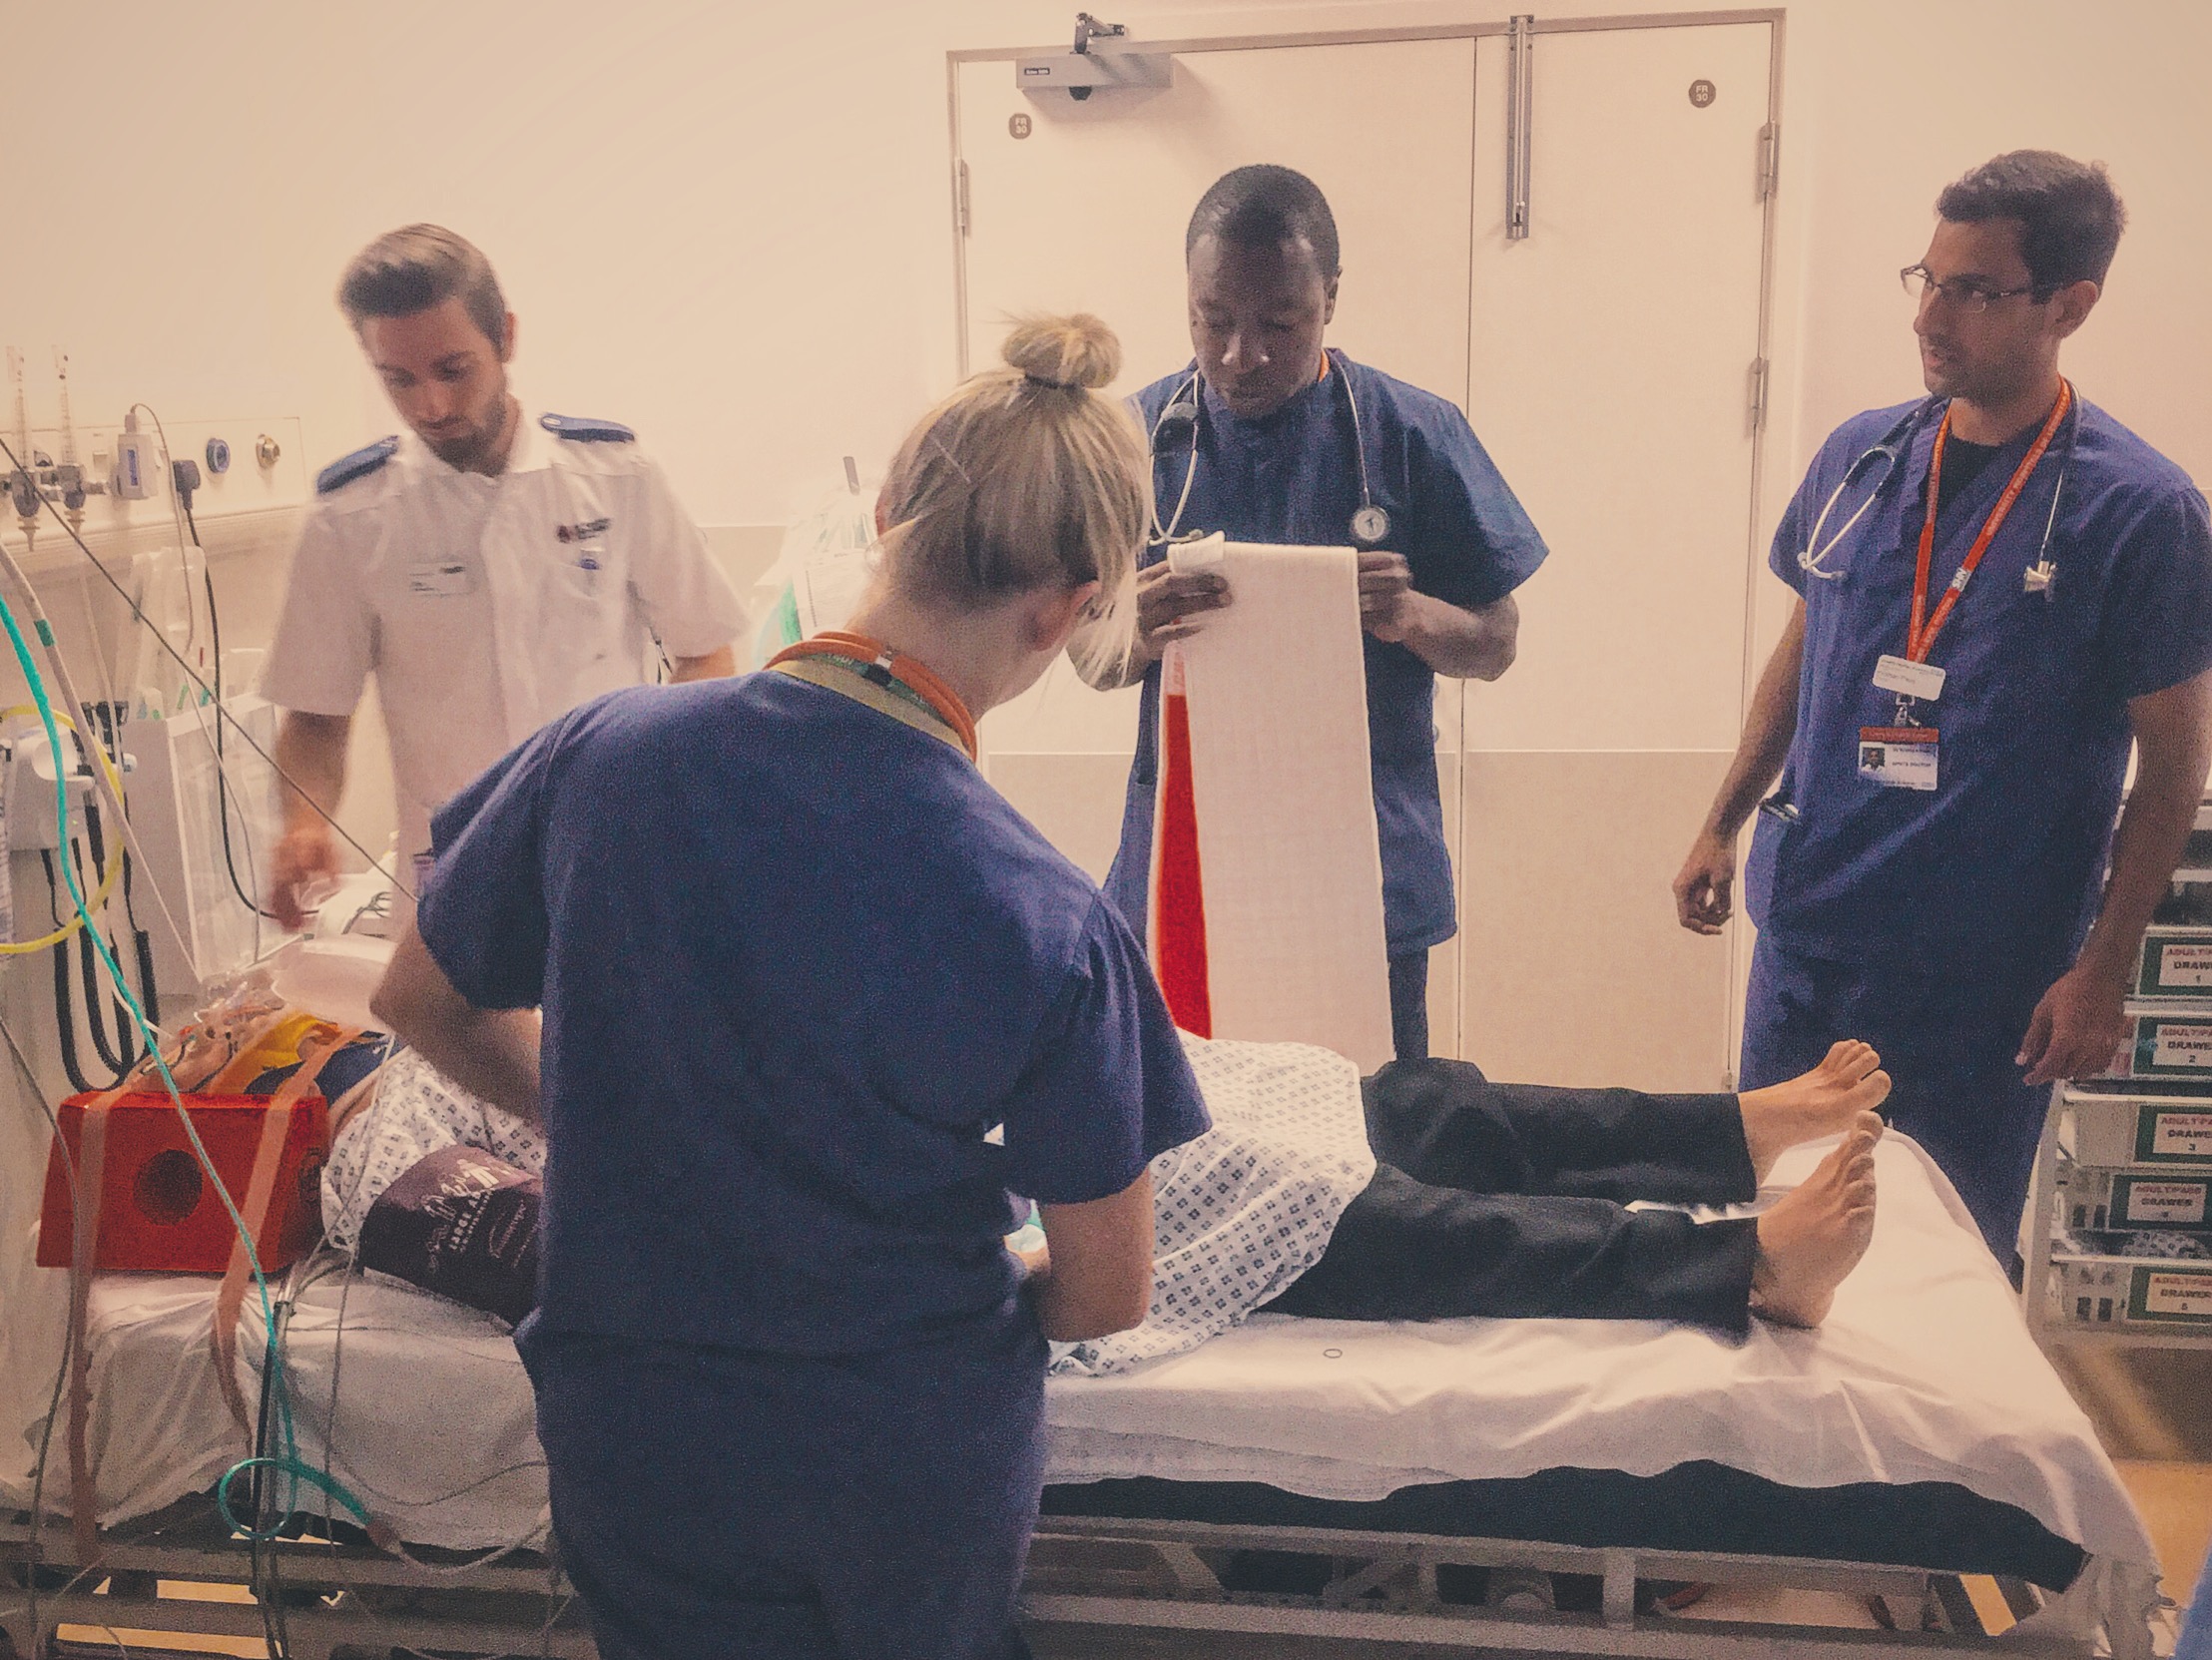
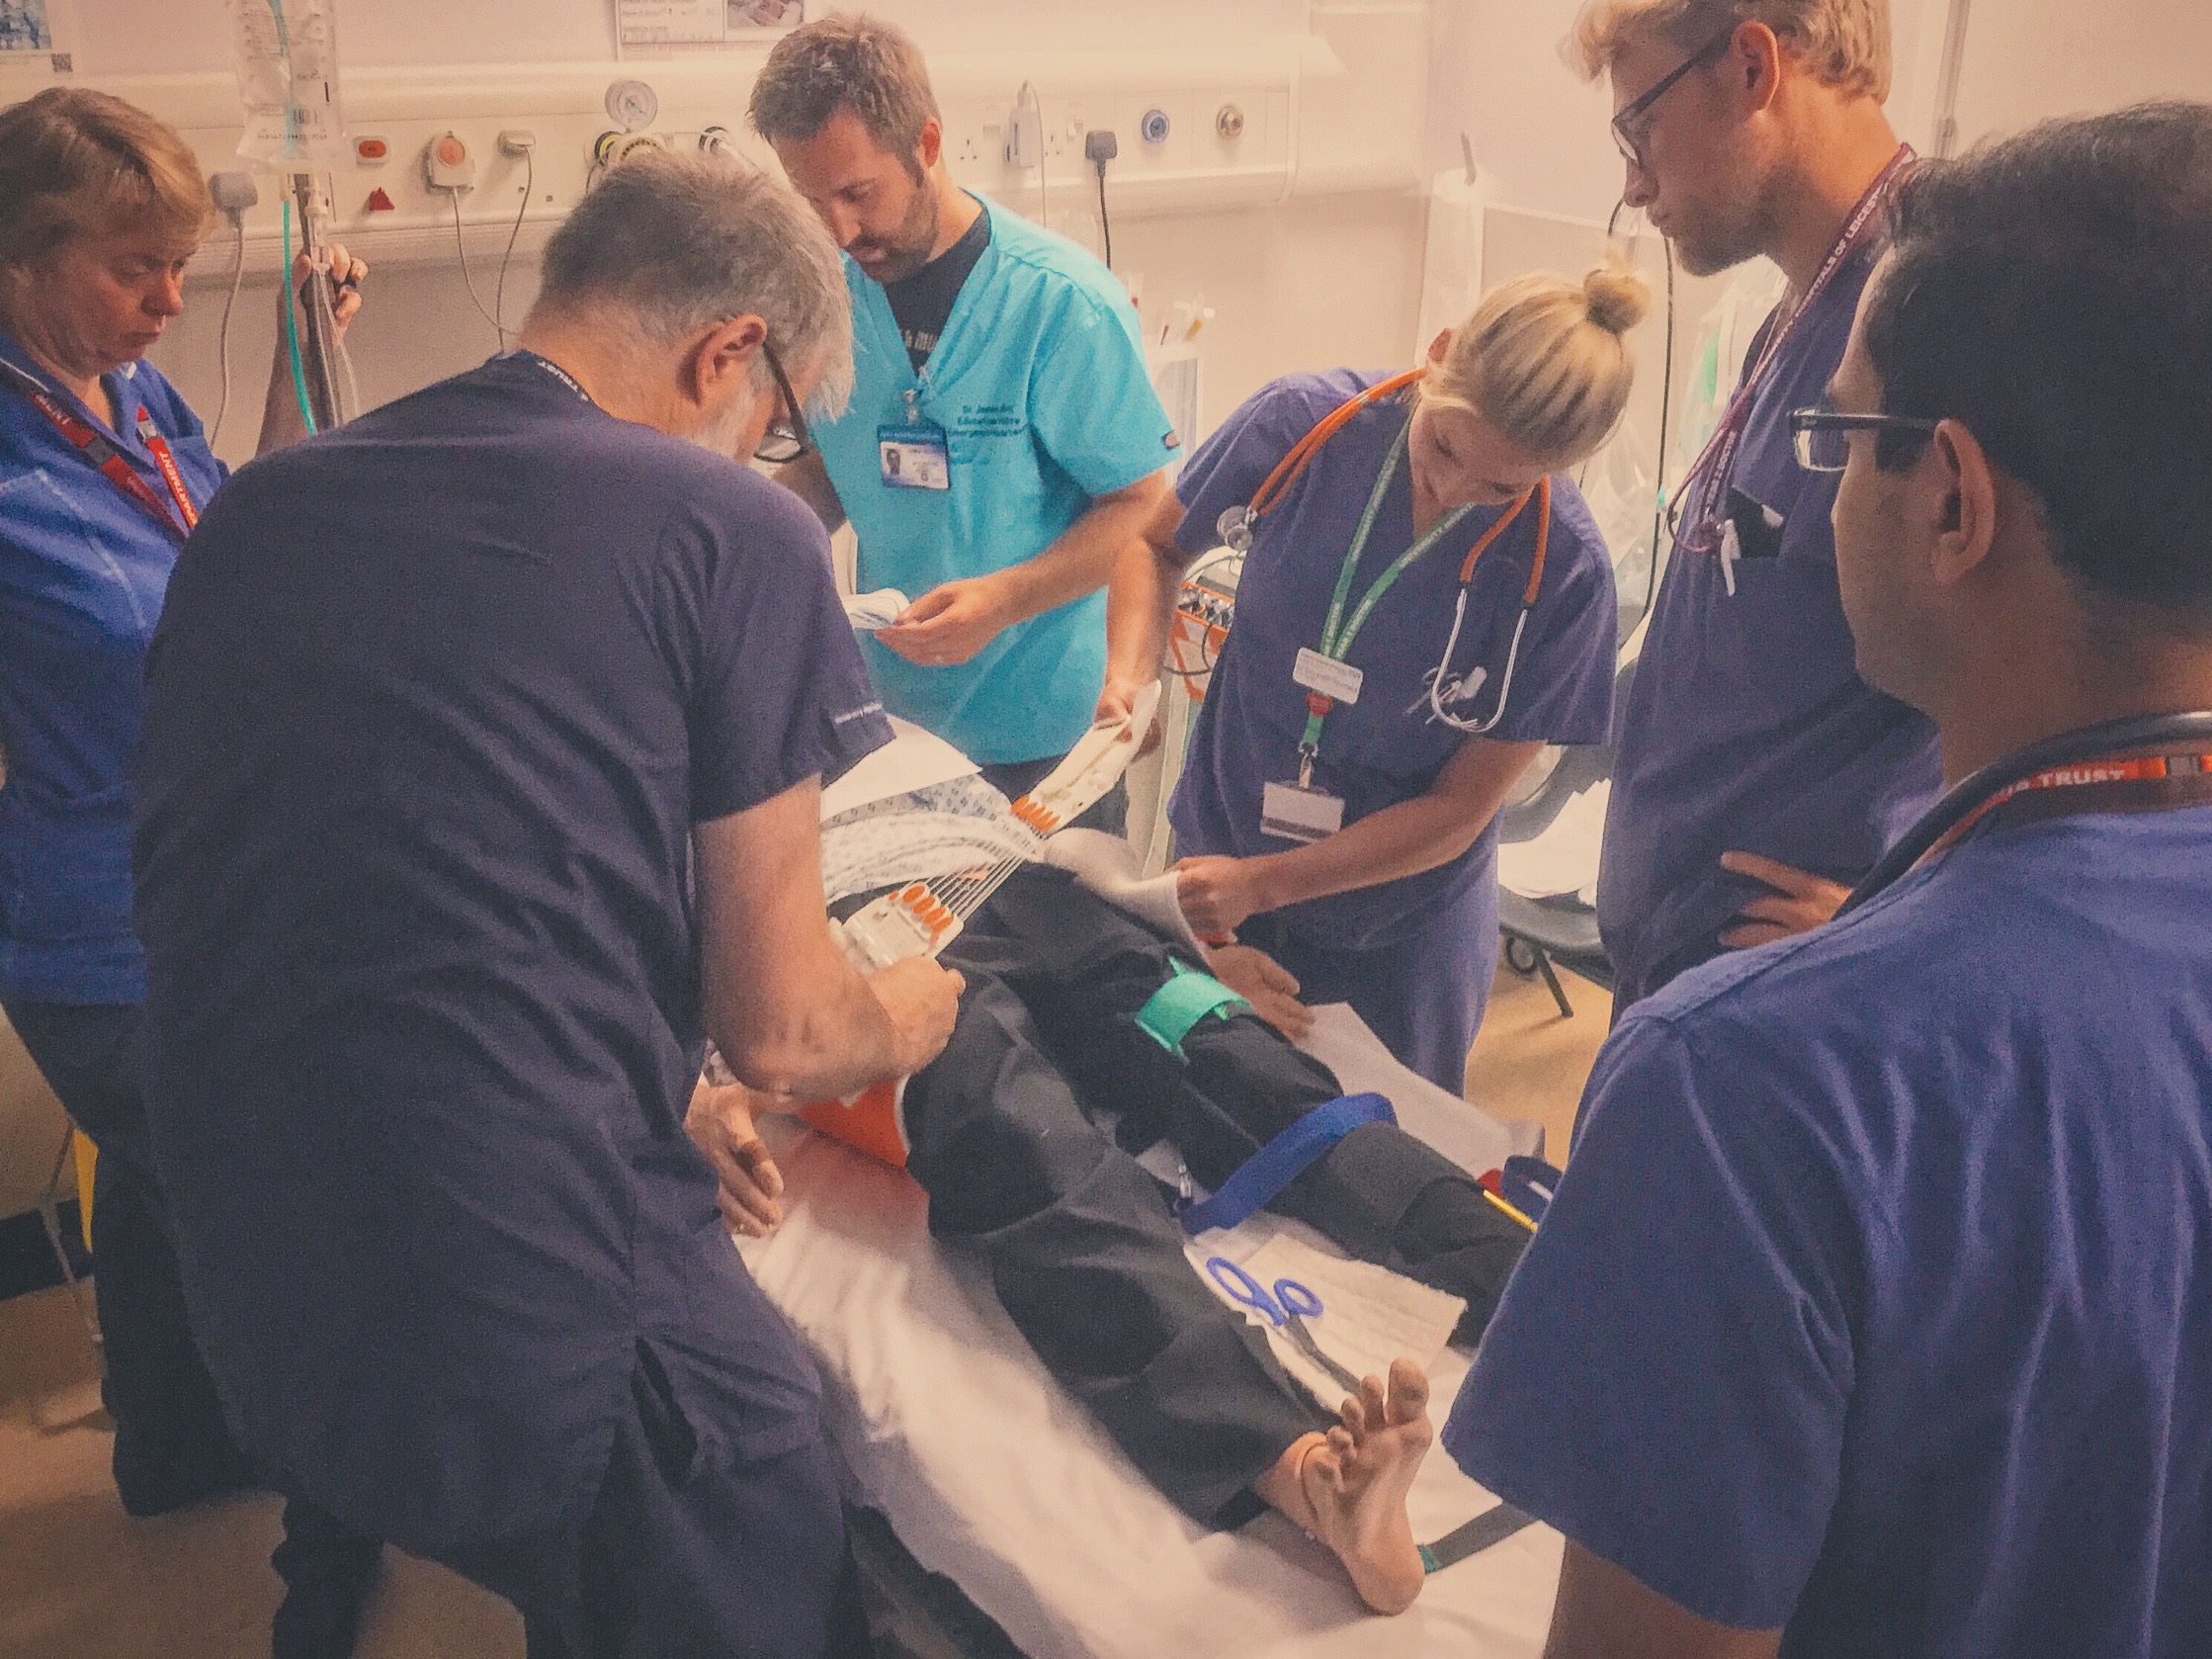
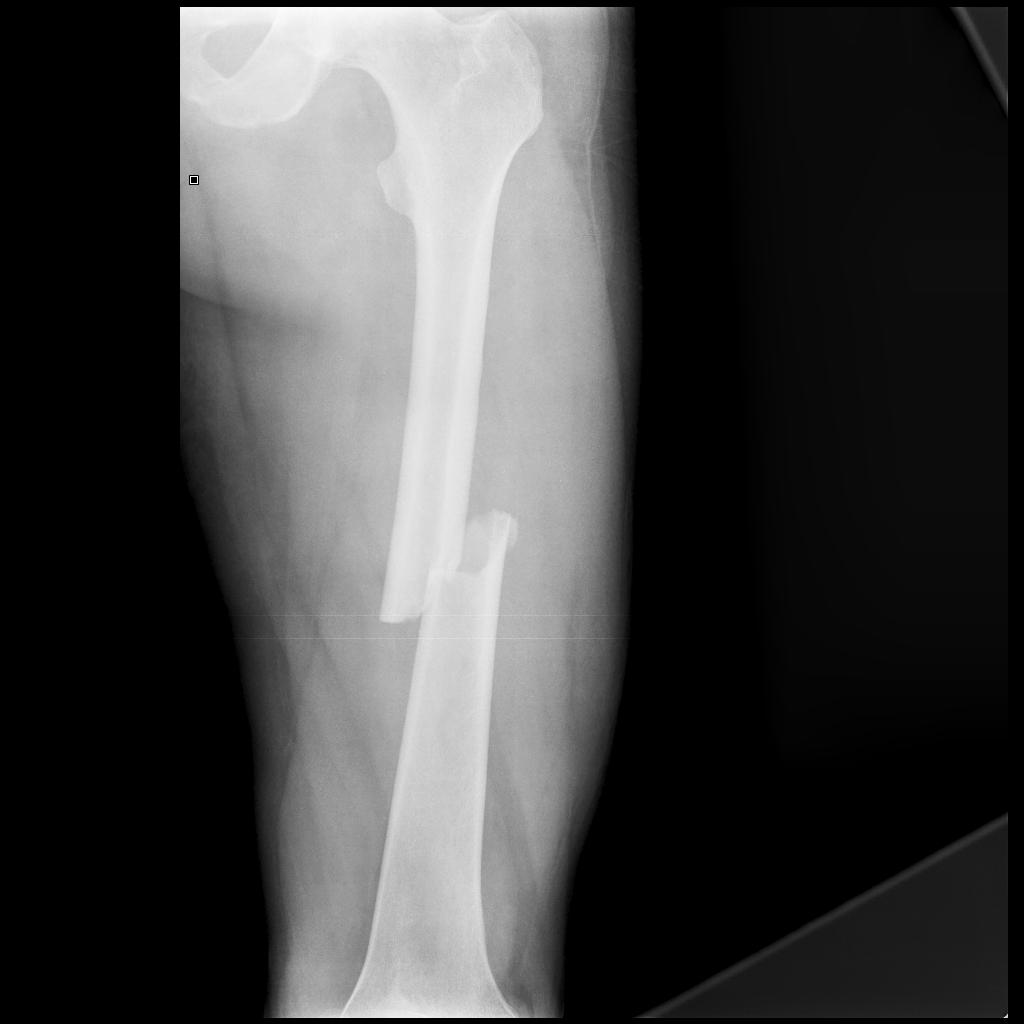
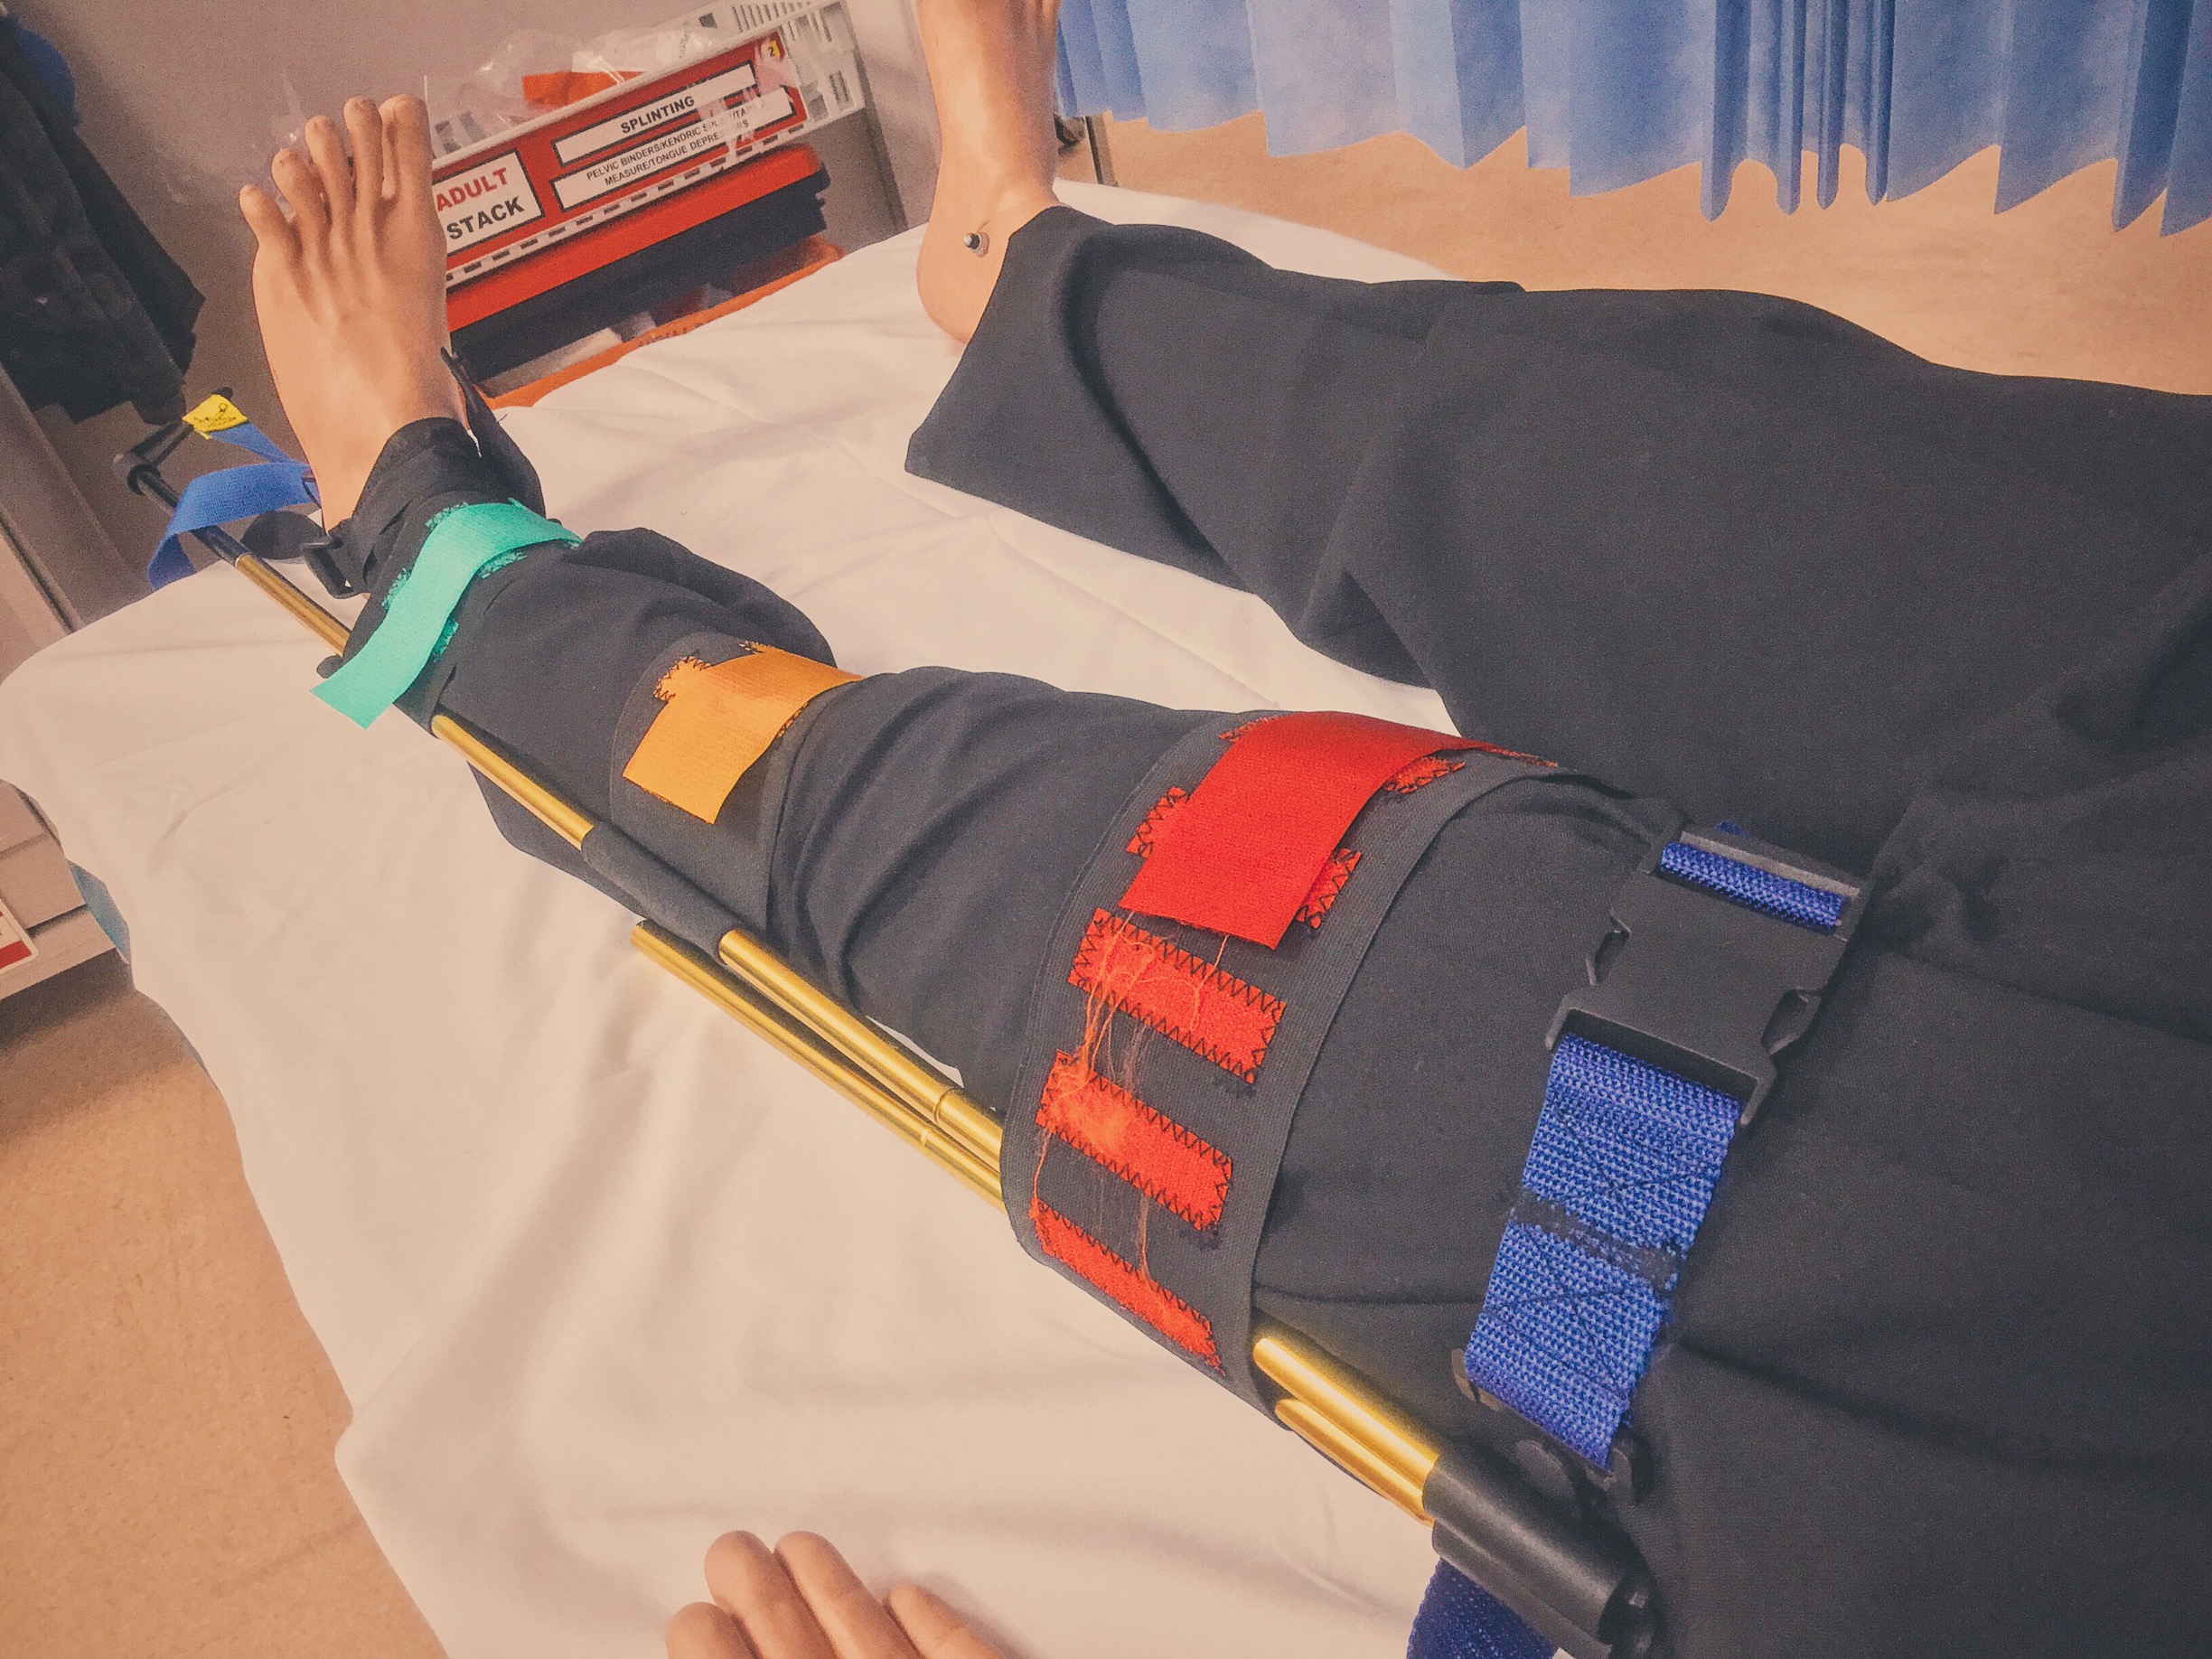

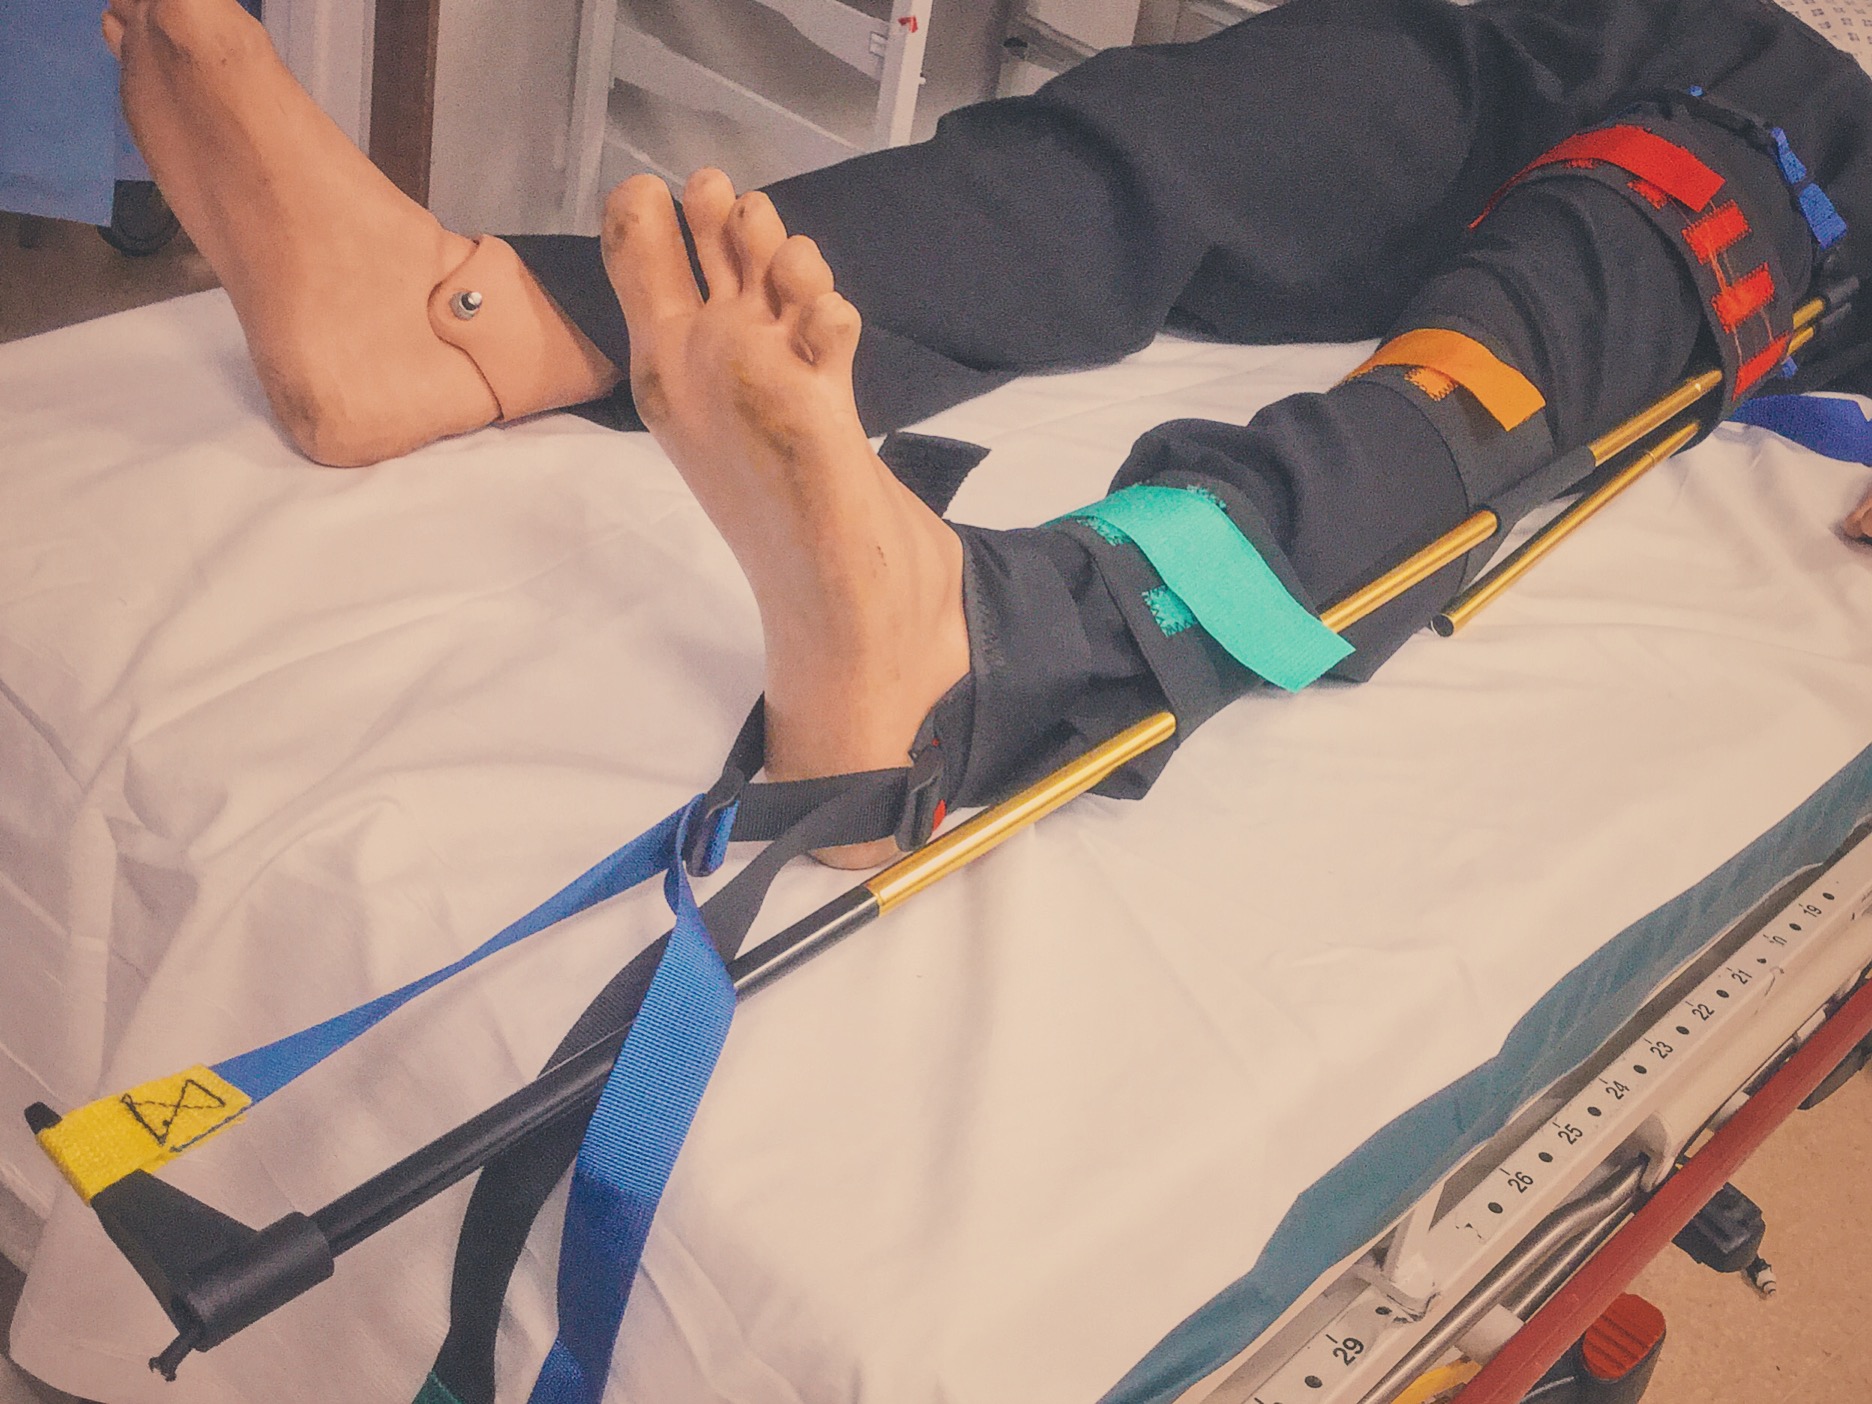
The Kendrick Splint
Indicated in mid-shaft femur fractures, not for use in proximal (including #NOF) or for distal femur fractures. The benefits of traction & splinting are to reduce blood loss, pain and tissue damage. It can also be used in patients with pelvic fractures.
The Kendrick Traction Device (KTD) is relatively simple to apply as long as you are familiar with the various parts. When applied correctly the straps should resemble a traffic light, with the thigh strap (red) proximal, then the knee strap (amber) and finally the ankle strap (green) most distal).
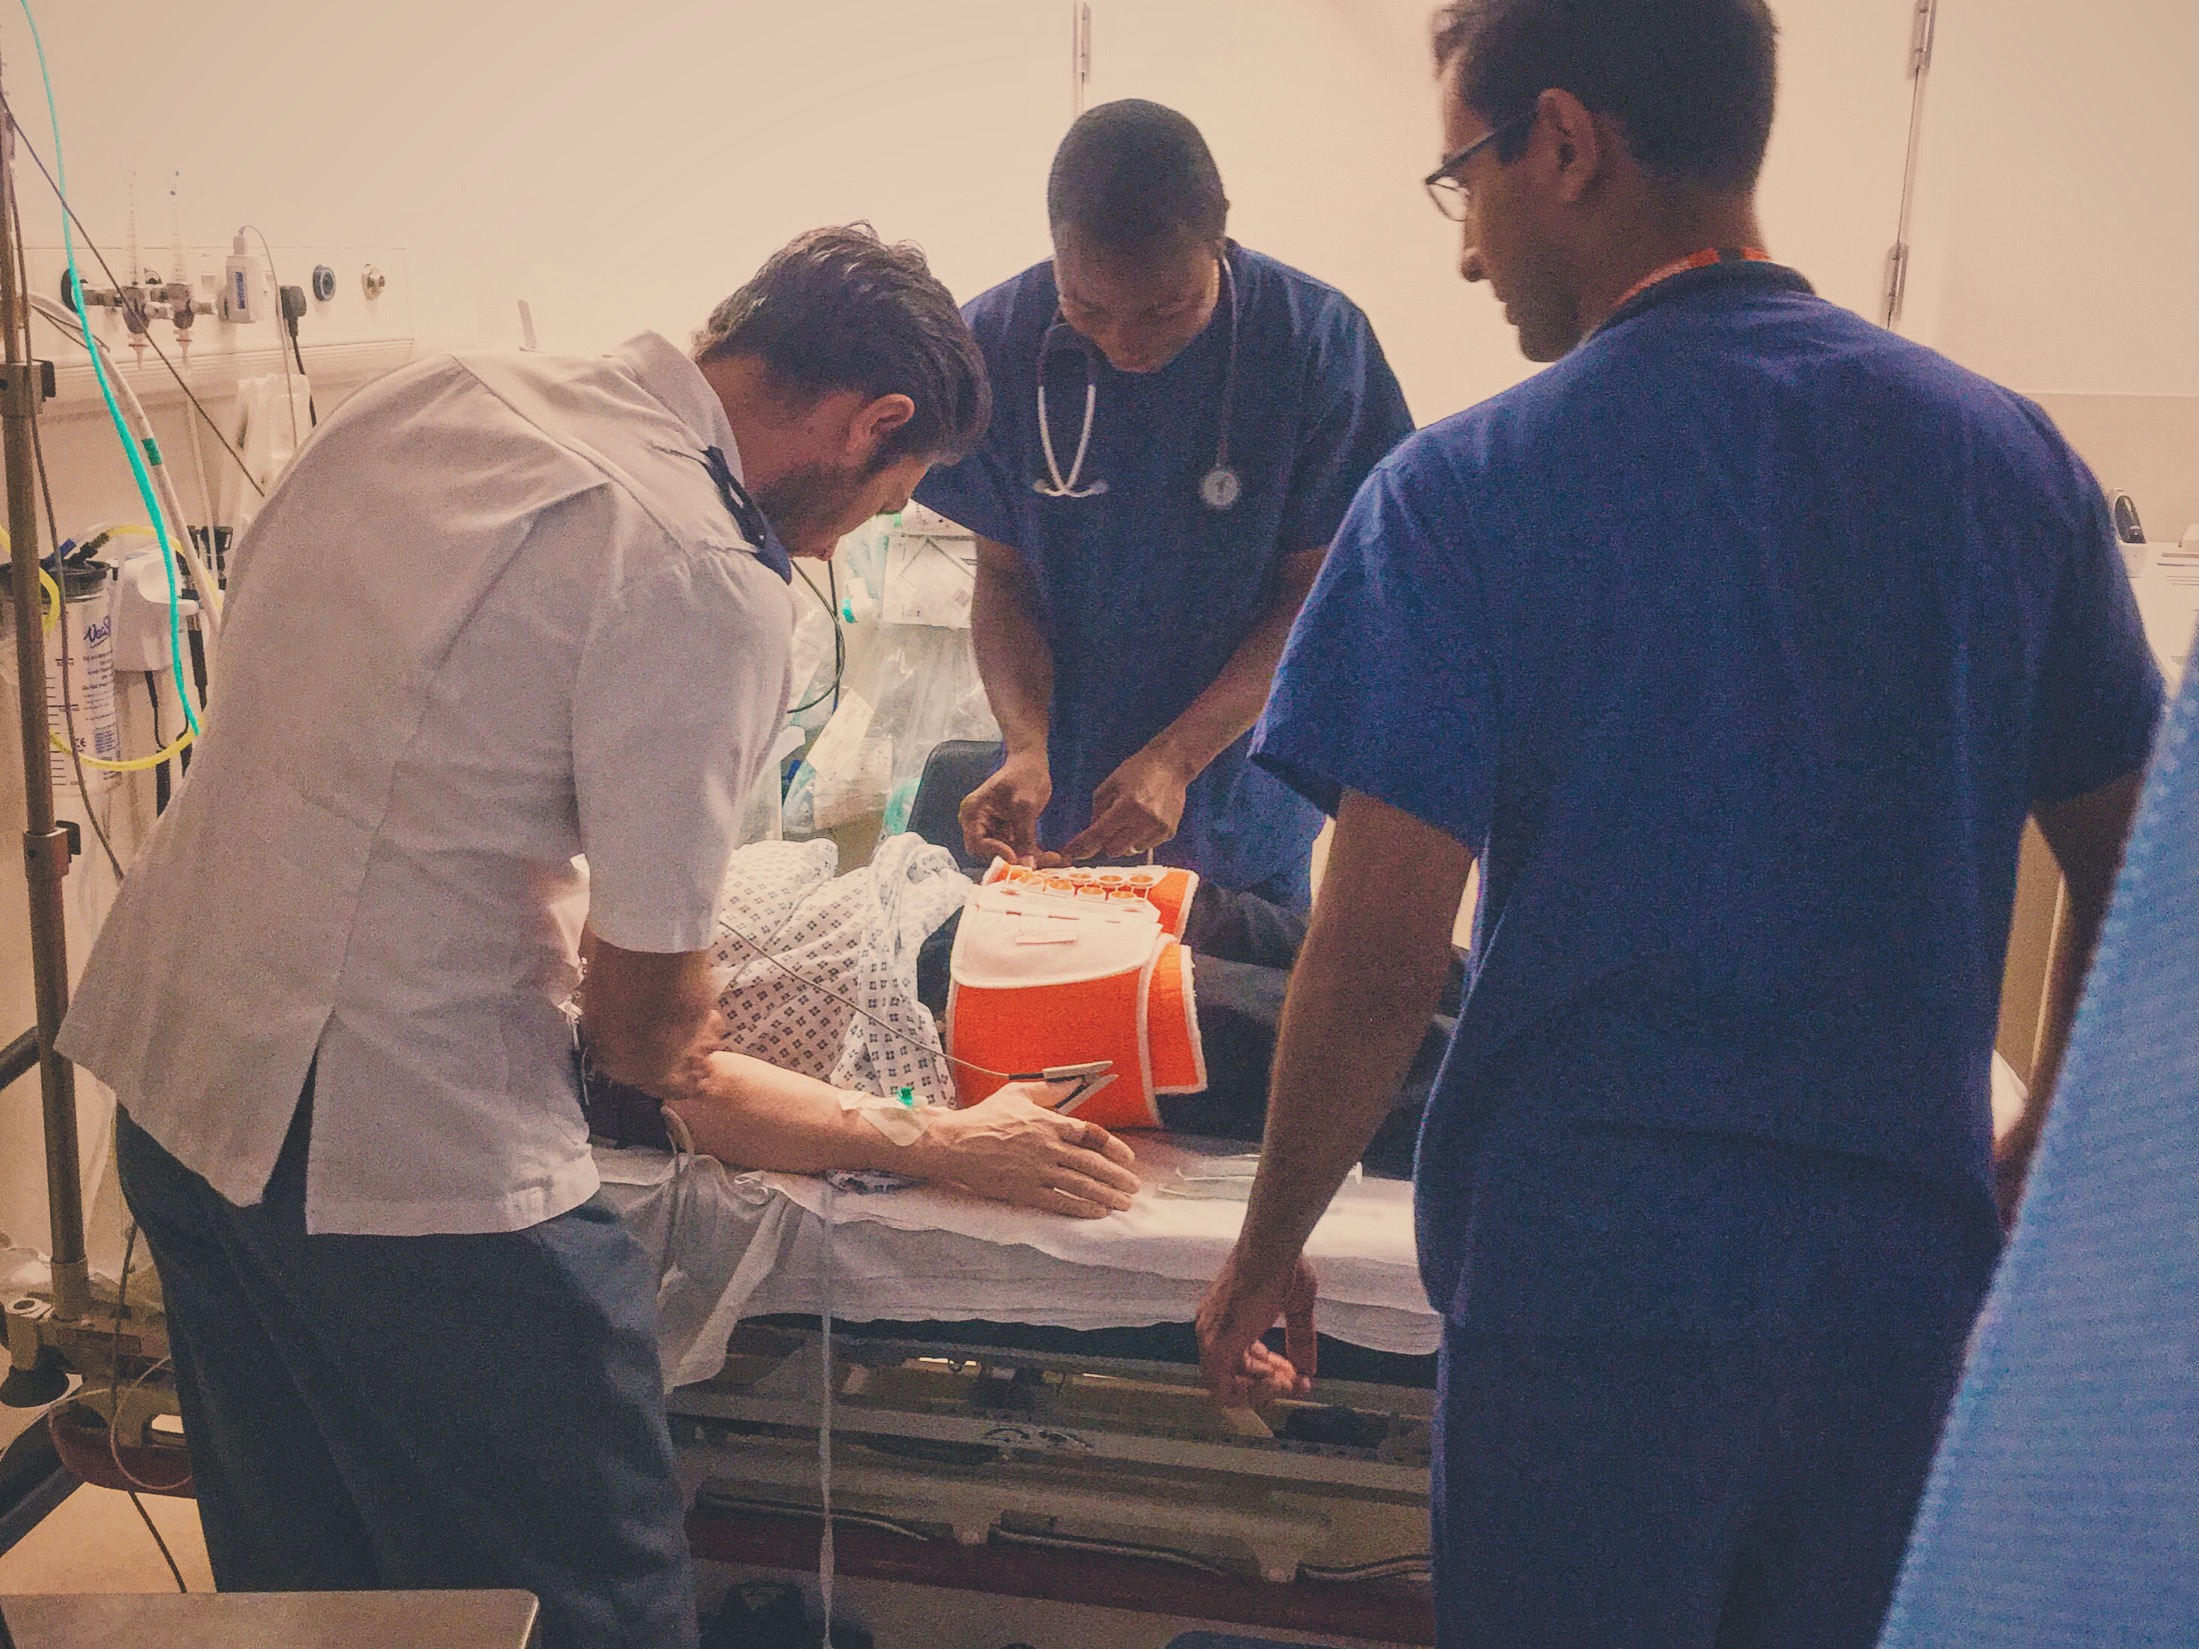
Whilst applying the splint it may be necessary to give further analgesia or procedural sedation.
The two videos below have been produced by @TamingtheSRU and are also available on their website. They demonstrate how to apply the device.
References & Further Reading:
Learning Outcomes
Familiarise yourself with equipment – both its location and how to use it.
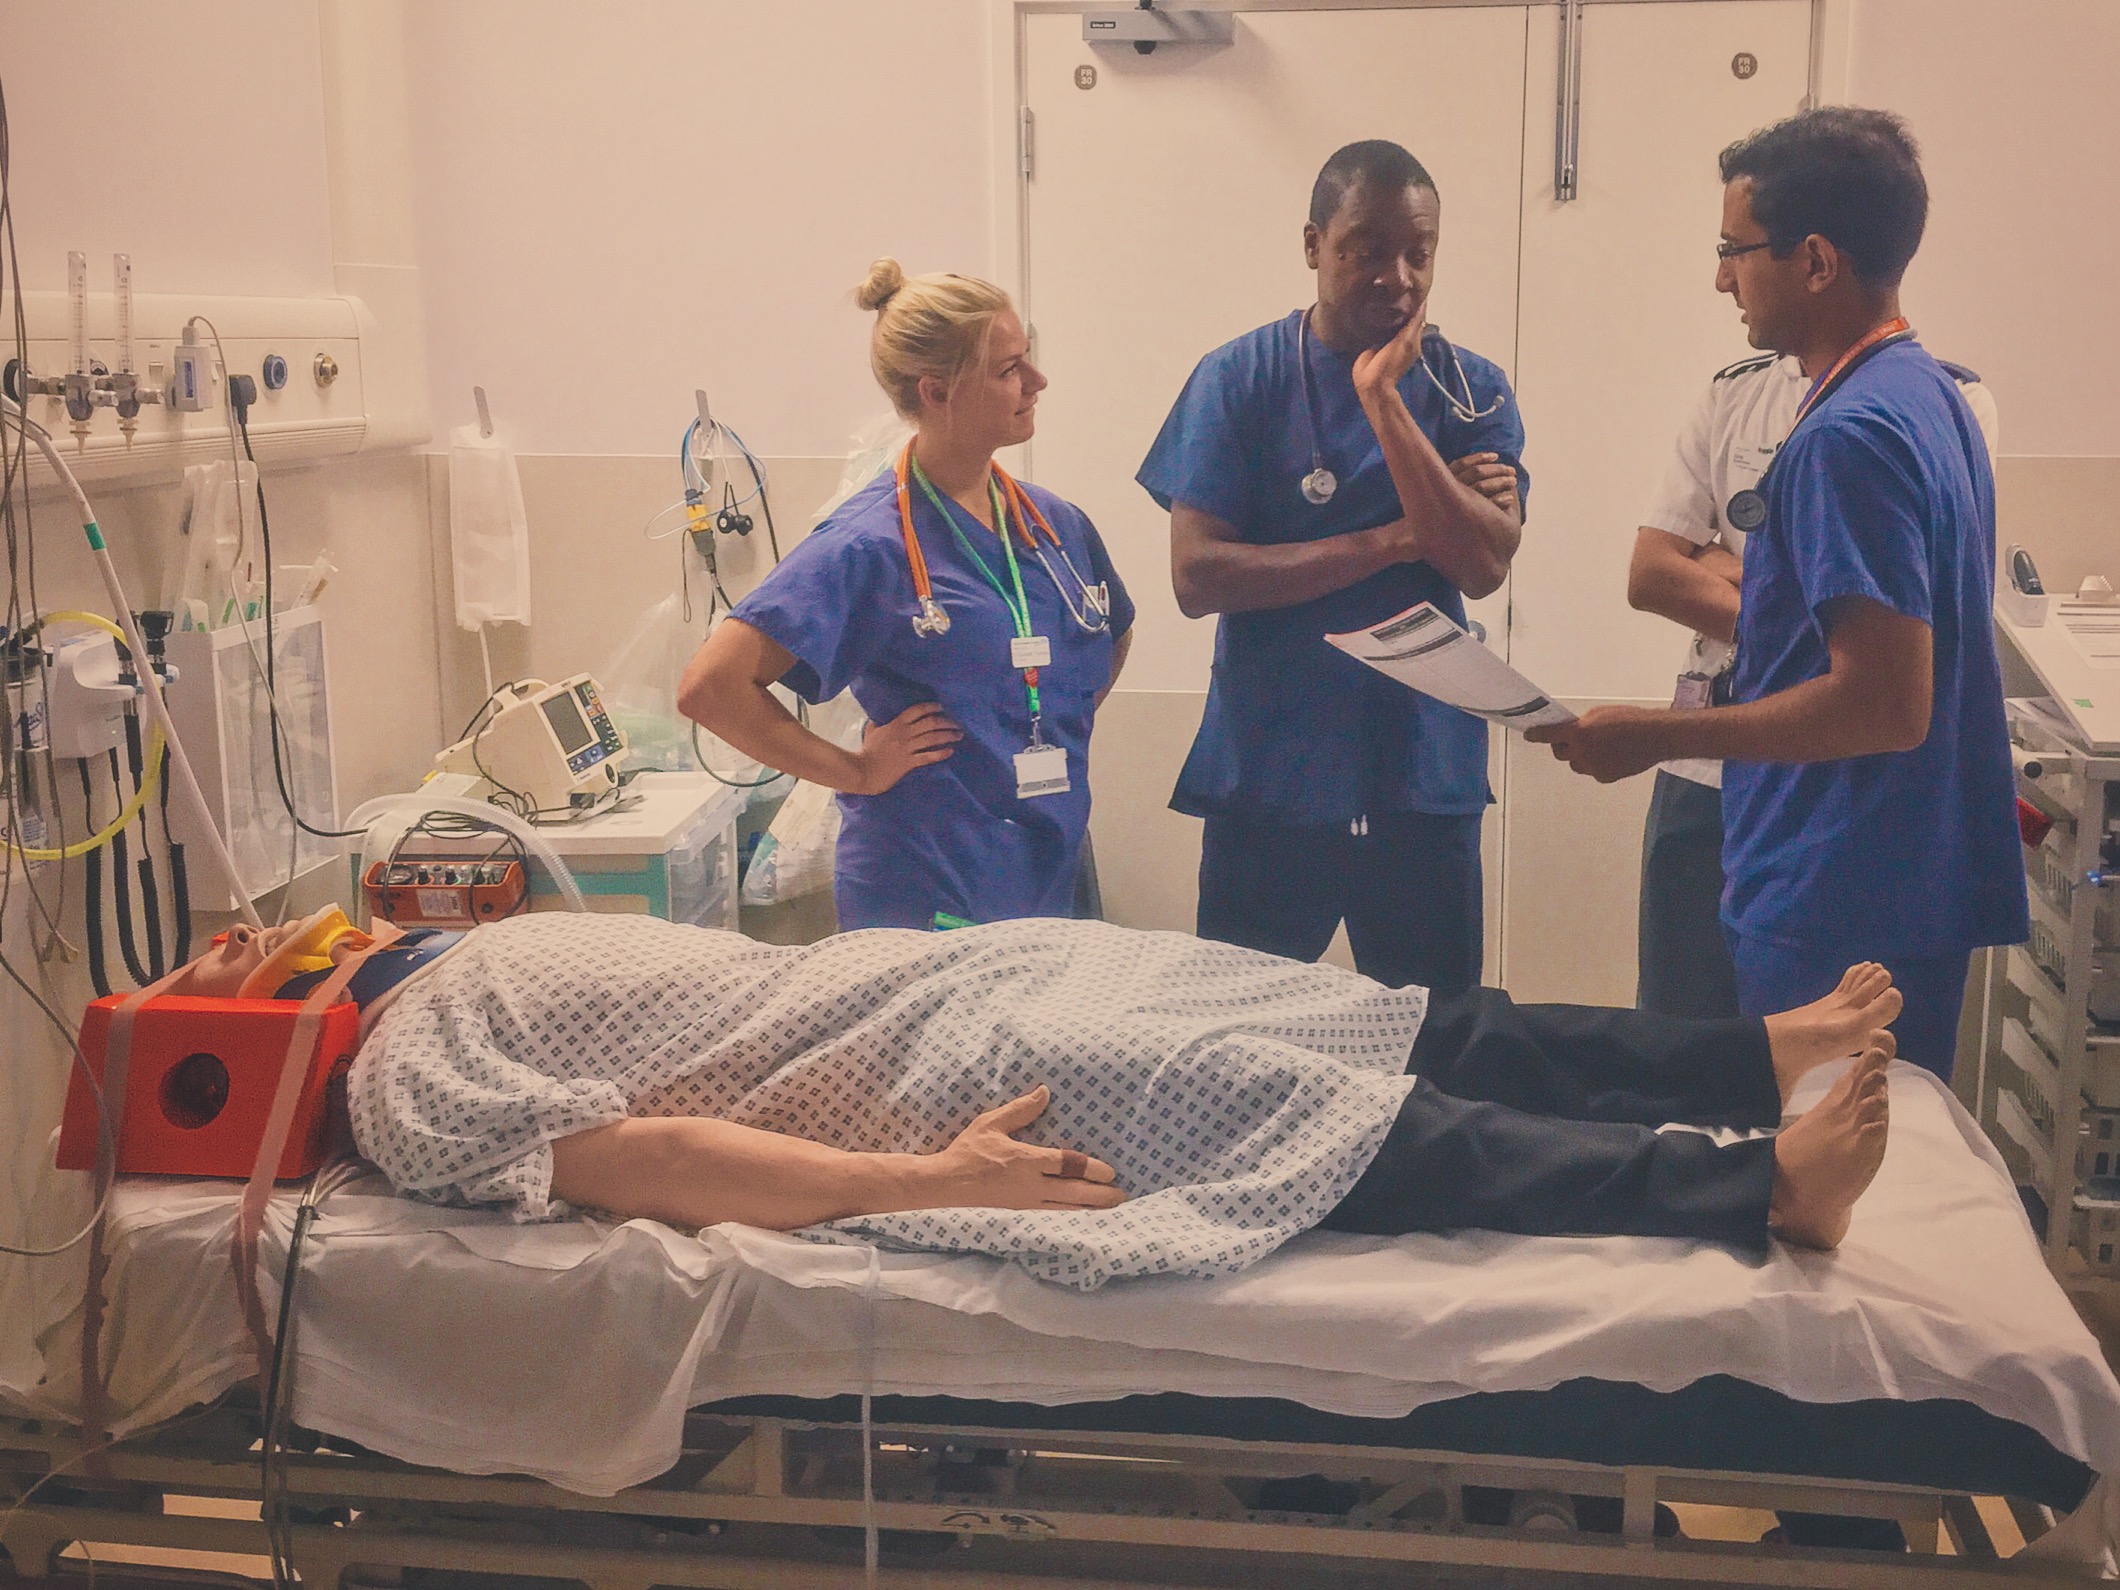
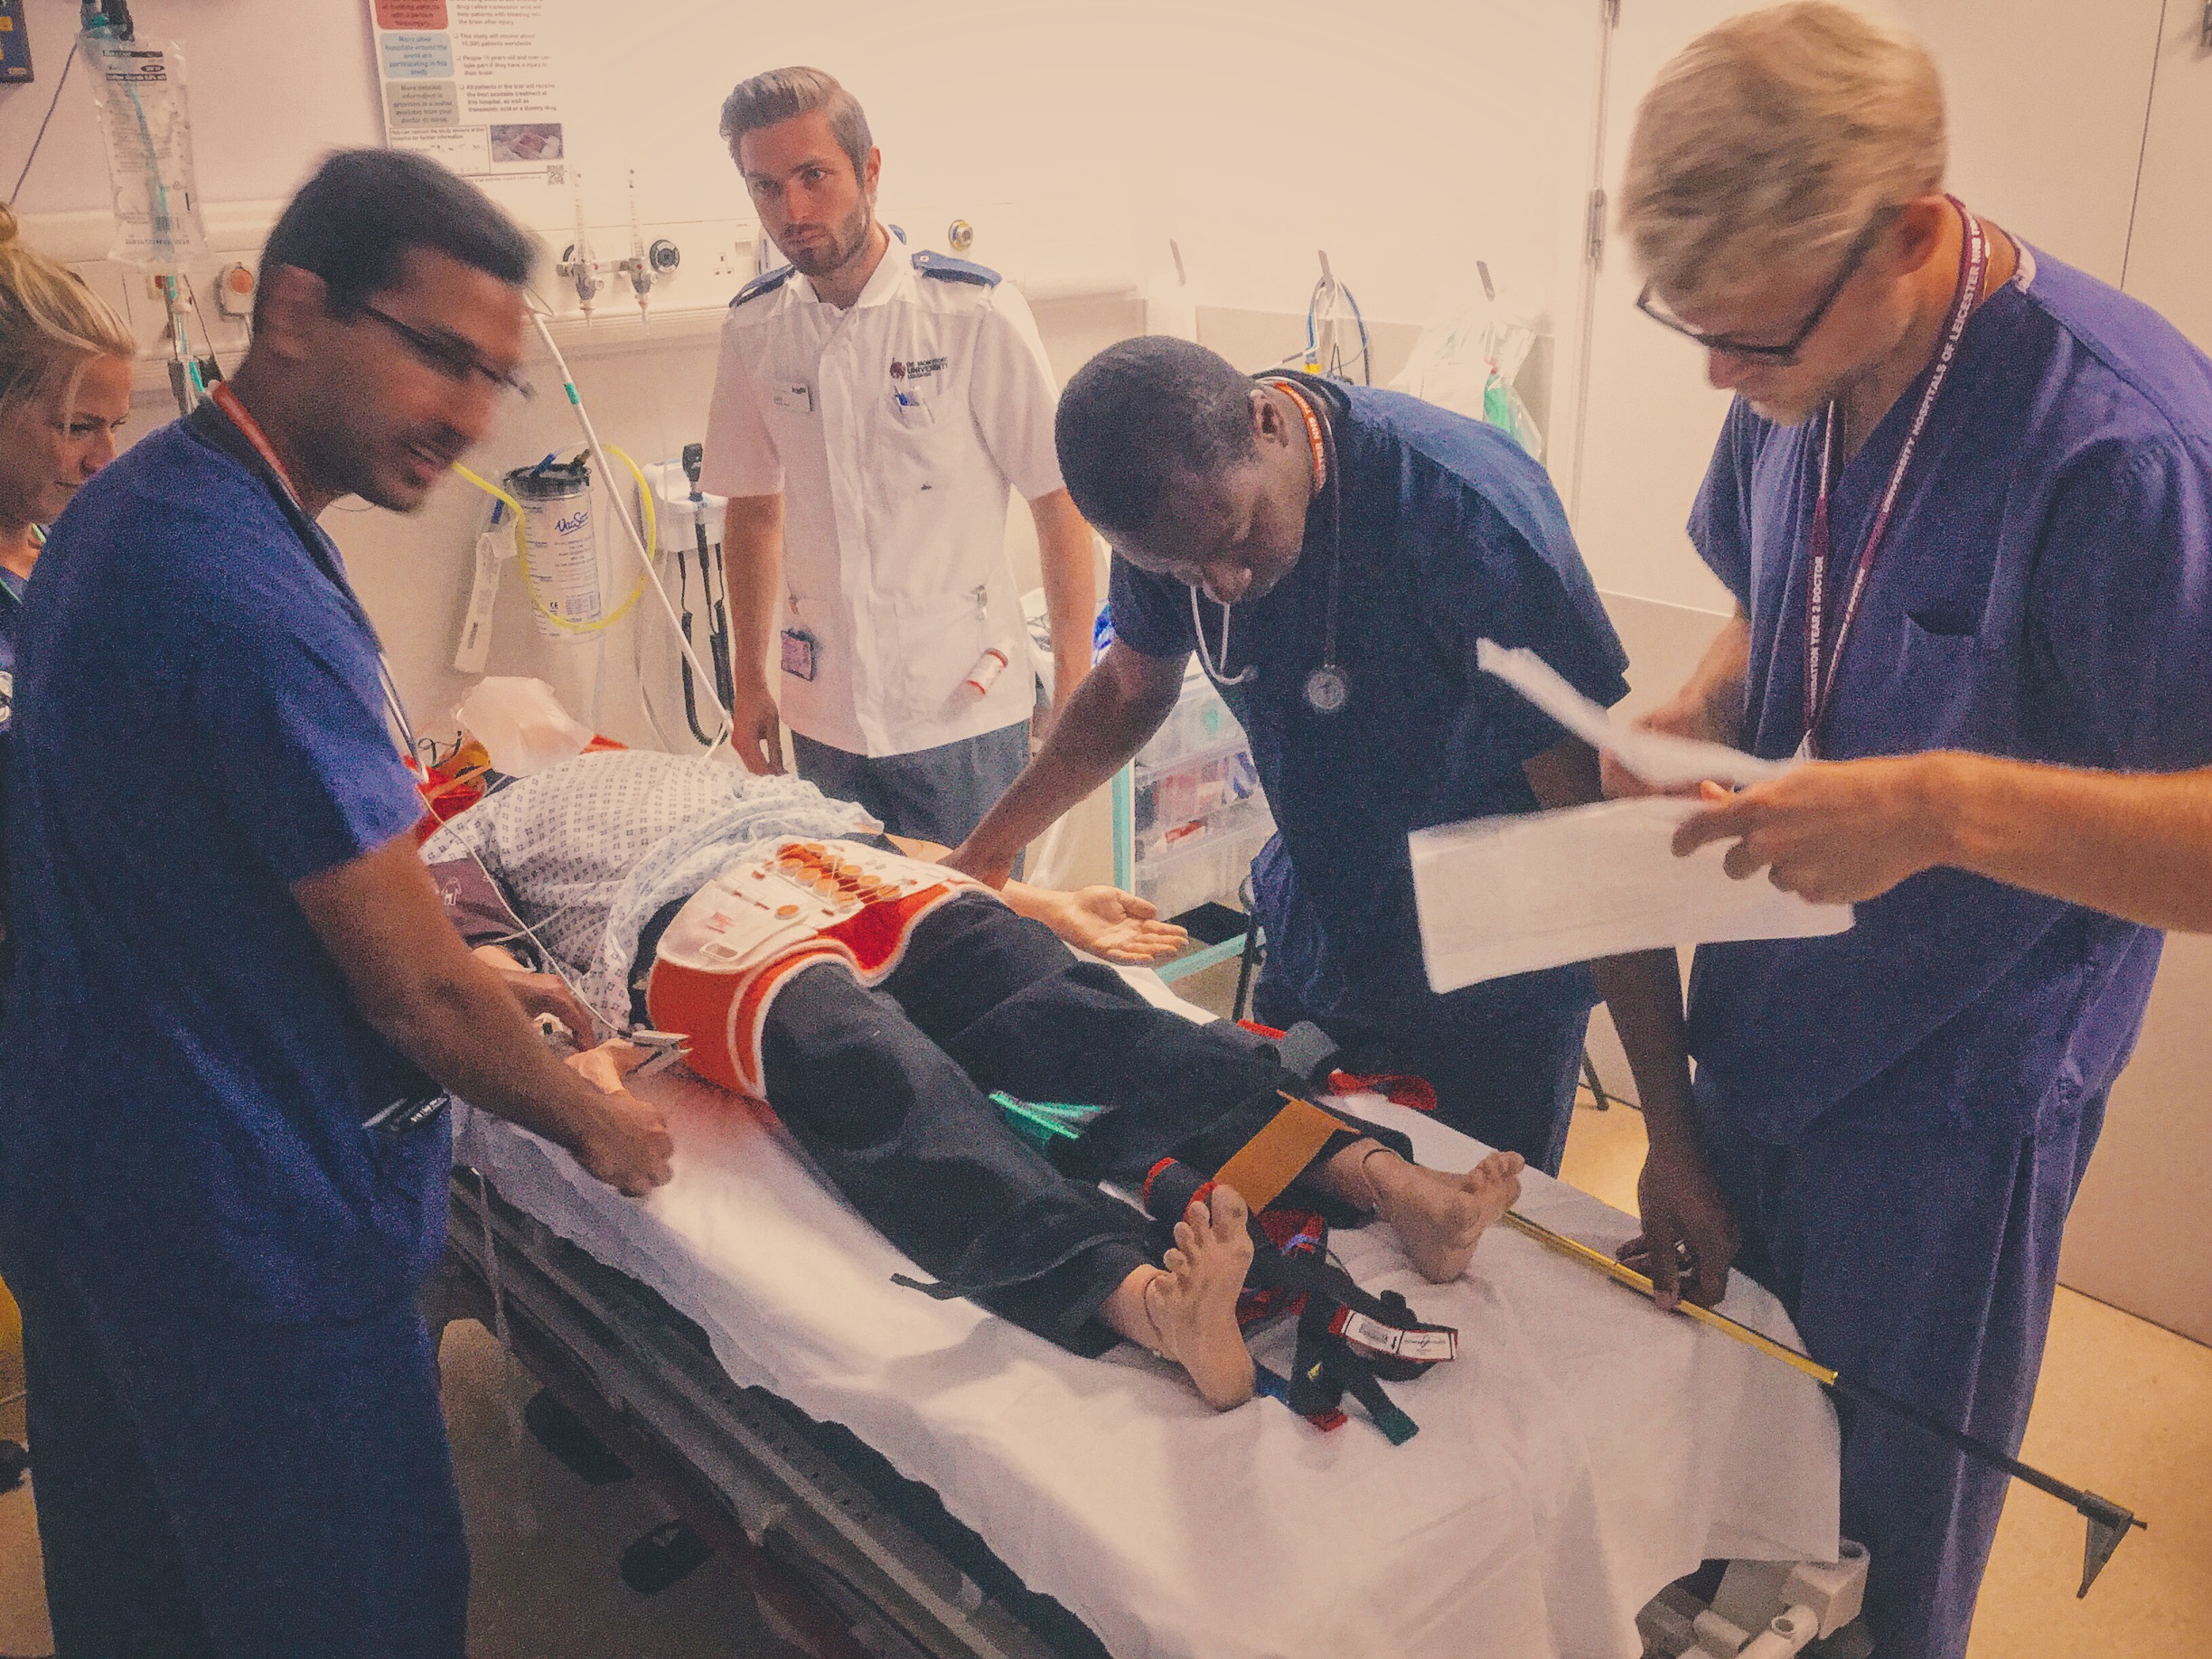
As team leader try to keep hands off and delegate tasks.
Consider using stickers to identify team members roles and names.
Positive Feedback
Recognised indication for pelvic binder.
Identified significant injuries and need to apply a splint.
Sought specialist input from the trauma team and orthopaedics.